Why Are My Miniatures Painting So Thick and Clumpy?
Thick, clumpy miniature paint almost always means unthinned paint. Learn thinning ratios, wet palette tips, and how to fix dried or old paint.
Thick, clumpy paint on a miniature almost always comes down to one thing: the paint went on too undiluted. Acrylic miniature paint straight from the pot is formulated to be thinned before use, and skipping that step fills in the fine detail you worked hard to preserve. The fix is simpler than it sounds, and once you have the habit down you will rarely see the problem again.
What "Too Thick" Actually Looks Like
Before fixing the problem it helps to know exactly what you are dealing with. Miniature paint too thick shows up in a few recognizable ways:
- Filled or softened detail. Rivets, chainmail links, and facial creases disappear under a heavy coat. The model looks like it was dipped in yogurt.
- Brush drag marks and ridges. The paint drags rather than flows, leaving streaky lines that dry as raised ridges.
- Uneven, lumpy coverage. The color pools in recesses and thins unevenly across raised surfaces, looking blotchy even after it dries.
- Clumps at the brush tip. Paint dries partway on the bristles mid-stroke, then gets deposited in small dried flakes rather than smooth pigment.
Any one of these is a sign that the consistency is off. Two or more together and thinning is almost certainly the solution.
The Thinning Ratio That Actually Works
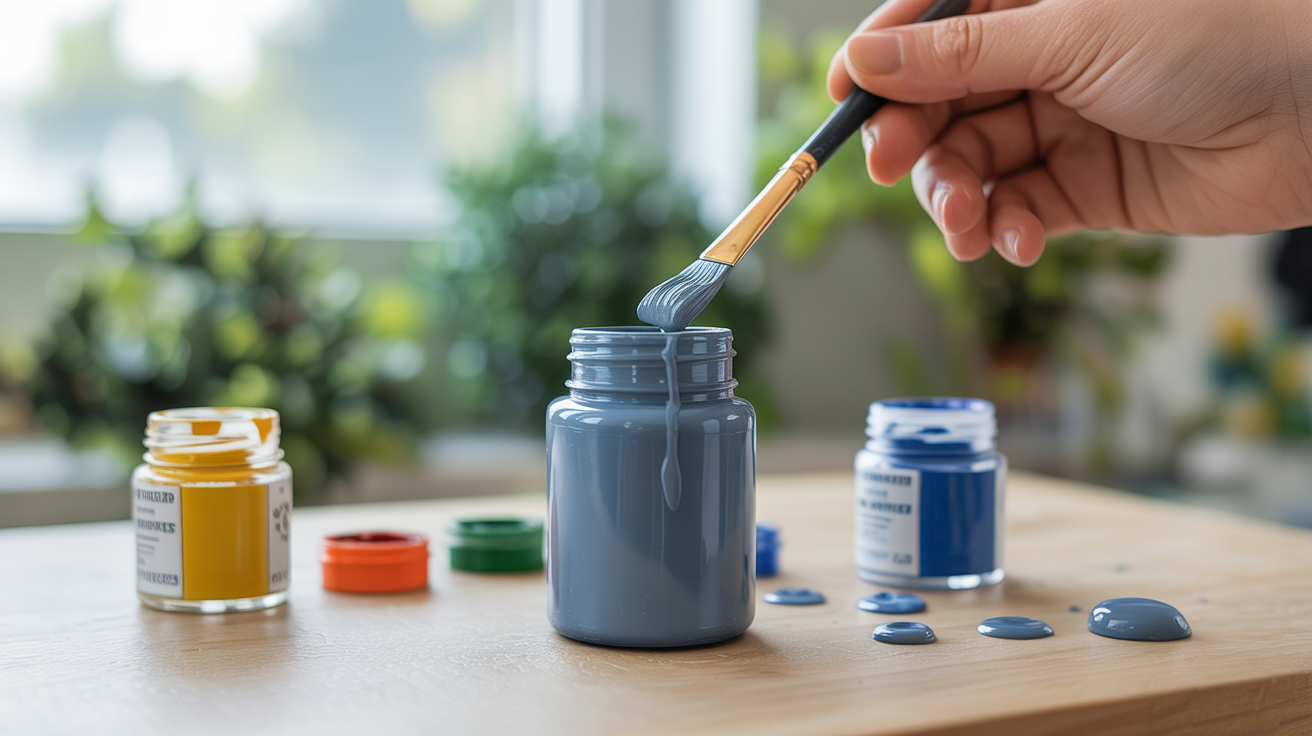
Most hobbyists thin their paint to what experienced painters call a "milk" or "skim milk" consistency. If the paint is straight from the pot, it often resembles thick cream or, with older pots, sour cream. That is too thick for almost any technique except dry brushing.
A practical starting point: two parts paint to one part water, adjusted by feel. Dip a brush, load the bristles, and drag a stroke across a spare piece of card. A properly thinned coat should be slightly translucent at this point. It will look thin when wet and build up to full opacity in two or three layers. That is correct behavior, not a mistake.
Some painters use a specific medium instead of water. Flow improver (a few drops added to the pot or palette) helps paint move across the surface without breaking up. Lahmian medium or similar acrylic mediums thin paint while preserving adhesion better than plain water. Water alone works fine, but stay under about 30 percent by volume or you risk breaking the binder that holds the pigment together.
| Paint State | Consistency | Use Case |
|---|---|---|
| Straight from pot | Thick cream | Dry brushing only |
| 1 water : 3 paint | Heavy milk | Base coating, large flat areas |
| 1 water : 2 paint | Skim milk | General painting, layering |
| 1 water : 1 paint (or more) | Ink/wash | Glazing, very thin layers |
Start at the middle of that table and adjust. The surface area of a miniature is small, so a coat that looks thin on the palette will still cover well over one or two passes.
Why a Wet Palette Changes Everything
A standard dry palette, whether a ceramic tile, a piece of glass, or a plastic lid, lets paint evaporate quickly. Within a few minutes the paint on the palette thickens noticeably. You add more water to compensate. Then it floods. Then you stop compensating and just work with paint that is getting thicker as the session goes on.
A wet palette solves this. The basic version is a shallow container with a damp sponge or foam layer covered by a sheet of parchment paper (not wax paper, which repels water). The moisture wicks up through the paper and keeps the paint hydrated at a near-constant consistency for the entire session. You can close the lid and come back the next day with workable paint.
Commercial wet palettes are available from several manufacturers and cost around $10 to $20 for the basic versions. The DIY version costs almost nothing if you have a container, a kitchen sponge, and parchment paper from the grocery store.
The practical effect: you thin once at the start and stop fighting the palette. The consistency you dialed in at minute one is the consistency you have at minute forty-five.
If clumpy miniature paint has been a recurring issue, switching to a wet palette is the single highest-return change you can make.
Paint Drying on the Brush Mid-Stroke
This is a specific variant of the problem that trips up a lot of beginners. The loaded brush sits in the air while you think, or your session is in a warm room with low humidity, and the paint at the tip begins to dry before it hits the model. When the bristles do touch the surface, they deposit a mix of wet paint and semi-dried flakes, which creates texture even on areas you want smooth.
A few habits that prevent this:
- Keep the brush moving or keep it wet. If you are pausing to decide where to paint next, rest the brush in a jar of water rather than holding it out.
- Load smaller amounts. A heavily loaded brush has more wet paint near the ferrule, but if the tip dries, that deep reservoir means nothing.
- Work in a cooler or slightly more humid space. A space heater aimed at your desk will shorten working time noticeably.
- Use a little flow improver. Even a small amount slows the drying time and helps paint settle more smoothly.
Brush care also matters here. If there is dried paint buildup near the ferrule from previous sessions, it will wick moisture out of fresh paint and accelerate drying at the tip. A brush soap or light conditioner applied after washing will keep bristles from holding old paint residue.
Old or Dried-Out Paint in the Pot
Old acrylic paint separates over time. The pigment sinks, the medium rises, and you end up with a skin of dried material on top or around the rim that gets mixed back in when you dip the brush. Even shaking the pot well does not always reincorporate a badly separated pot.
Signs the paint has gone bad rather than just thick:
- Stringy or gummy texture. The paint stretches like rubber cement rather than flowing.
- Dried chunks that will not dissolve. You can add water and stir, but small hard particles remain.
- Separation that does not fully mix. There is a visible clear layer floating on top even after shaking, or the color looks patchy.
For pots that are thick but not dried out, add a few drops of water directly into the pot, close the lid, and shake well. A clean glass bead inside the pot helps break up settled pigment. Let it rest for an hour, then shake again. Often that is enough to bring a neglected pot back.
For pots with dried skin: use a toothpick to fish out the skin before mixing. Do not stir it back in; the dried film will not rehydrate and will cause exactly the texture problems you are trying to avoid.
If the paint is genuinely dried out or stringy, it is past saving and worth replacing. Trying to paint through bad consistency adds frustration and does not teach you anything useful about technique.
For more on recovering from paint-related mistakes and going back over problem areas, see how to fix mistakes and repaint a miniature.
The Link Between Thick Paint and Brush Marks
Thick paint and visible brush marks often arrive together. The paint is too stiff to self-level, so every stroke direction leaves a trace. Thinning the paint is the first fix, but there is more to it.
Brush pressure matters. Pressing hard spreads the bristles and creates drag lines at the edges of every stroke. A lighter touch with a properly loaded brush produces smoother results even at the same consistency.
Stroke direction matters too. Painting in one consistent direction on a flat surface, then going back over perpendicular, tends to cancel out some of the stroke texture.
Finally, multiple thin coats with drying time between them will almost always look better than a single thick coat. Each layer settles and dries flat before the next one adds more pigment on top.
For a deeper look at removing brush texture after the fact and preventing it in the first place, see how to get rid of brush marks on miniatures.
Building Speed Without Sacrificing Consistency
Once thinning paint becomes automatic, the natural next question is how to move faster without the quality slipping. Painting in thin layers actually speeds up certain stages, because you spend less time fixing coverage problems. A clumpy first coat that fills detail means more time stripping or fixing later.
The broader approach to painting efficiently without losing the good parts is covered in how to paint miniatures faster without them looking bad.
Frequently Asked Questions
How do I know if my miniature paint is too thick without a reference?
Load a small amount onto a brush and drag it across a piece of paper. If the stroke is opaque on the first pass, looks streaky or uneven, and leaves ridges you can feel with a fingernail after drying, the paint is too thick. A properly thinned paint will look slightly translucent in a single stroke and build up over two or three passes.
Can I thin paint with just water, or do I need a medium?
Plain water works fine for most purposes. The general guideline is to keep water at 20 to 30 percent of the total volume. Above that, the binder begins to break down and the dried paint may not adhere properly or may look chalky. A dedicated thinning medium or flow improver is more forgiving if you tend to over-thin.
Why does my paint look fine on the palette but thick on the miniature?
The surface tension on a plastic or metal miniature is different from your palette. Paint that flows freely on a smooth tile may drag and stick on textured surfaces. A drop of flow improver in the mix reduces surface tension and helps the paint settle more smoothly onto the model.
How long does paint in a wet palette stay usable?
With a properly sealed wet palette, acrylic paint typically stays usable for two to four days at room temperature. Some painters get up to a week out of certain formulations. If the paint starts to smell sour or develops a skin on top, it has started to grow mold; at that point, clean the palette and start fresh.
Is clumpy miniature paint always fixable, or do I need to strip the model?
If the paint is thick but not extensively layered, a thin wash or glaze over the top can sometimes unify the surface and reduce the appearance of ridges. If the detail loss is significant, stripping the model and starting over is often faster than trying to paint around the problem. Stripping with isopropyl alcohol or a purpose-made stripper is straightforward and covered in the guide on fixing and repainting.