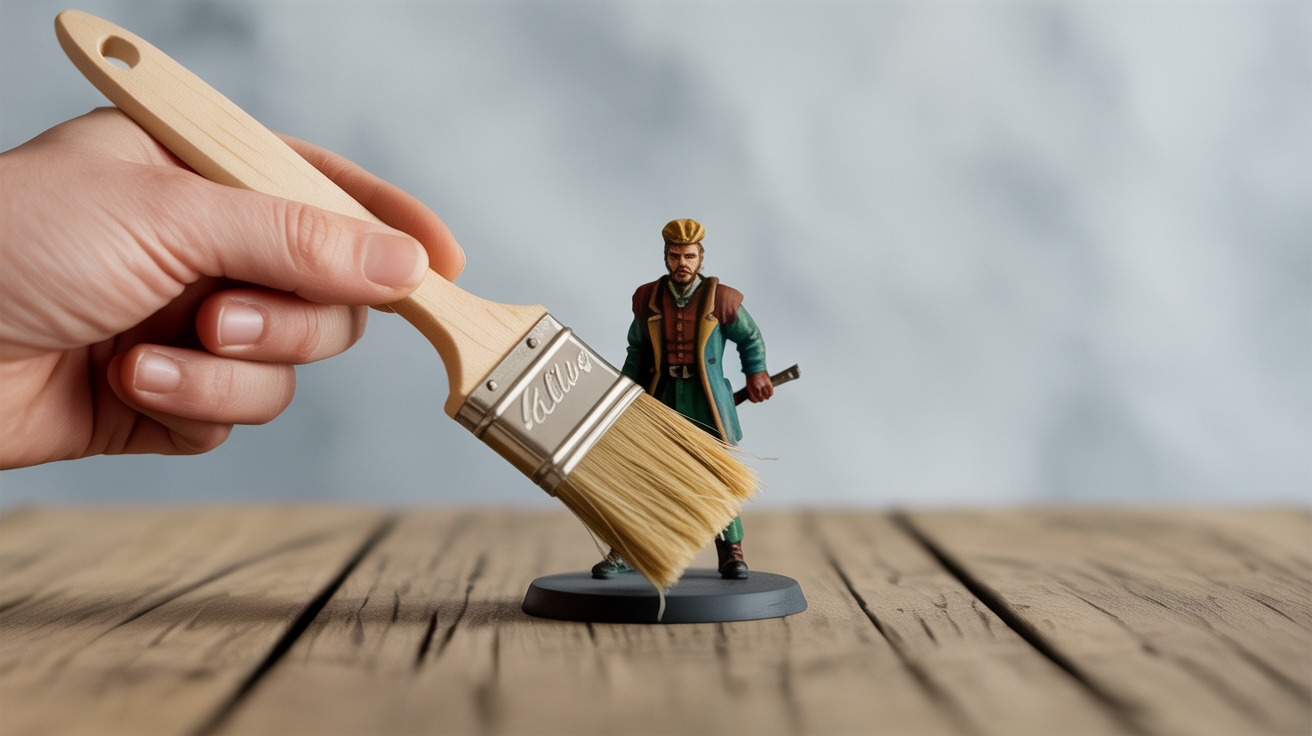
How to Get Rid of Brush Marks on Miniatures
Visible brush marks on miniatures almost always trace back to paint that's too thick or too dry. Here's how to fix them and prevent them.
Brush marks on miniatures are almost always caused by paint that is too thick, drying too fast, or applied with strokes that are too short and choppy. Thinning your paint and slowing the dry time are the two levers that fix the vast majority of cases. Once you understand why the marks appear, both prevention and repair become straightforward.
Why Brush Marks Happen
Paint behaves like a gel when it has too little water in it. Each brushstroke piles up on the previous one instead of flowing flat, and you can see every ridge once the paint cures.
A few specific culprits:
- Undiluted paint straight from the pot. Most hobby acrylics are formulated thick so they survive shipping. They are not ready to use without at least a little thinning.
- Paint drying on the brush mid-stroke. If your painting room is warm or low humidity, the tip of your brush can start to dry before you finish the stroke. The dragged dry film creates texture.
- Short, scrubbing strokes. Loading the brush and then jabbing quickly does not give paint time to self-level. Long, confident strokes let the paint settle.
- Painting over a tacky undercoat. If the layer beneath is not fully cured, the brush grabs it and pulls it up, creating drag marks.
- Brush damage. A brush with a bent or splayed tip splits the paint film and leaves channels.
Understanding the cause points you straight at the fix. The table below maps the most common scenarios to their solutions.
| Cause | Fix |
|---|---|
| Paint too thick | Thin with water or medium, 1:1 or 2:1 paint-to-water as a starting point |
| Dries too fast | Use a wet palette; add flow improver or retarder medium |
| Short choppy strokes | Switch to long sweeping strokes; let each one trail off gently |
| Tacky layer beneath | Wait longer between coats; thin the new coat more |
| Damaged brush | Replace the brush; a cheap round brush with a good tip beats an expensive frayed one |
Thinning Paint Properly
This is the single most impactful change most beginners can make. Thin your paint until a drop placed on glass spreads slightly on its own without spreading so far it loses coverage. The common shorthand is "skim milk consistency," though that varies a bit by paint brand.
Start with roughly one part water to one part paint on your palette. Stir until you see no streaks in the pool. Test on a spare piece of sprue or cardboard. If the paint looks translucent and shows the surface underneath, it is thin enough to flow; you may just need a second coat. If it still sits in peaks, add another drop of water and test again.
Plain water works for most situations. If you find it makes paint bead or separate, a drop of flow improver (sometimes called flow aid) in a small water pot solves that. Flow improver reduces surface tension so paint spreads without fighting you.
For a deeper look at what happens when paint goes on too thick, see Why Are My Miniatures Painting So Thick and Clumpy.
Using a Wet Palette
A wet palette is a tray with a damp sponge layer and a sheet of parchment or hydration paper on top. Paint placed on the paper stays workable far longer than paint on a dry tile or paper plate.
The extended open time changes the whole experience. You can load your brush, apply a stroke, come back for another load, and the paint on the palette has not started to dry and thicken. This directly reduces visible brush strokes because each new brushload matches the consistency of the last one.
You can buy a wet palette or make one from a shallow takeaway container, a damp kitchen sponge, and a sheet of parchment paper. Either works. The key is keeping the sponge damp (not waterlogged) so moisture transfers to the paper and keeps your paint alive.
A few tips for wet palette use:
- Do not saturate the sponge so heavily that water pools on the paper and floods your paint.
- Keep the lid on between sessions. Most palettes stay usable for several days closed.
- If paint on the paper looks separated or runny, the sponge is too wet. Squeeze it out slightly.
Applying Flow Improver
Flow improver is a simple additive, usually a diluted surfactant, that reduces the surface tension of acrylic paint. The practical result is paint that spreads more evenly and has less tendency to pull away from the previous stroke.
You do not need much. One or two drops in a small pot of water (around 10ml) is usually enough to mix with your paint throughout a session. Using it neat or in high concentration can affect adhesion, so keep ratios reasonable.
Flow improver is particularly useful when:
- You are doing large, flat base-coat areas where streaky paint miniatures are most obvious.
- You are painting in a dry environment.
- You are blending colors and need the paint to stay open a little longer.
It is not a substitute for thinning. Think of it as a complement: thin the paint first, then use flow improver if you still notice the paint resisting smooth application.
Brush Technique for Smoother Results
Even perfectly thinned paint can leave marks if the brush technique is fighting you. A few adjustments here go a long way.
Use the side of the brush tip, not just the point. Load the brush, then orient it so the side of the bristles contacts the surface. This spreads paint across a wider area with less pressure than stabbing with the point.
Long strokes, light pressure. Think of painting a wall rather than scrubbing a pan. Let the weight of the bristles do the work. Pressing hard spreads bristles unnaturally and drags the paint.
Parallel strokes in the same direction. Crossing your strokes over each other creates obvious texture. Pick a direction and stick with it within each coat. If a second coat is needed, you can rotate direction slightly, but staying consistent within one pass helps the paint flow together.
Let the coat dry before adding another. Wet-on-wet blending is a technique, but accidental wet-on-wet (painting over a coat that has not set) pulls the previous layer and creates a mess. Thin coats dry in one to two minutes under normal conditions. When in doubt, wait.
If you are trying to work faster without sacrificing results, How to Paint Miniatures Faster Without Them Looking Bad covers how to batch paint and sequence steps so speed and quality coexist.
Fixing Existing Brush Marks
Sometimes you finish a coat, step back, and see the marks are already there. The good news is that most brush stroke problems are fixable without stripping the model.
Option 1: Thin coat over the top. Mix a very thin (almost translucent) layer of the same color and apply it in long, even strokes. This fills the ridges left by the previous coat and self-levels as it dries. One or two thin passes usually smooth things out significantly.
Option 2: Wet brushing to blend. Load a brush, wipe most of the paint off on a paper towel, then drag it lightly over the surface. The tiny amount of paint left fills the marks without adding new ridges.
Option 3: Glaze. A glaze is paint thinned heavily with glaze medium or water until it is nearly translucent. Applied over a streaky base coat, it unifies the tone and hides a lot of surface irregularity. This works especially well over large flat surfaces like cloaks or armor panels.
Option 4: Start the layer over. If the marks are deep or the color is wrong, repainting is often faster than chasing a bad coat. Let everything dry, then apply a fresh thin coat of the base color and work from there. For guidance on when to strip versus repaint, How to Fix Mistakes and Repaint a Miniature lays out the decision clearly.
Frequently Asked Questions
Do I need expensive paint to avoid brush marks?
No. Budget hobby paints can produce smooth results with proper thinning. Brand-name paints have consistent formulations that help, but any acrylic paint thinned correctly and applied with good technique will behave well. A worn-out expensive brush will cause more problems than a cheap paint properly thinned.
How much water should I add to thin miniature paint?
There is no single ratio that applies to every paint, but a 1:1 starting point (one part water, one part paint) works for most base coats. Very pigment-dense paints can take more water. The test is consistency: thin enough to flow off the brush tip, thick enough to leave some coverage. Two thin coats almost always beats one thick coat.
Can I use household products as a flow improver substitute?
A tiny drop of dish soap in your water pot can reduce surface tension similarly to commercial flow improver. Use less than you think you need, one small drop per 10ml of water. Too much creates foam and affects adhesion. Purpose-made flow improver is inexpensive and more predictable, but dish soap works in a pinch.
Why do my brush marks show up more on some colors than others?
Yellow and red pigments are notoriously low coverage. You often need three or four thin coats, and the ridges from each application add up. The fix is the same (thin paint, patient layering), but you may need more coats than you expect. Starting those colors over a light grey or off-white primer also reduces the number of passes needed.
Why do my brush strokes look fine wet but terrible when dry?
Acrylic paint shrinks slightly as the water evaporates. Ridges that looked subtle when wet become more obvious once the surface contracts. This is normal and is another reason thin coats work better: there is simply less material to contract and reveal texture. If this is a recurring issue, slow down the dry time with a wet palette and more dilute paint so each coat has time to self-level before setting.