How to Thin Your Paints (the Most Important Beginner Skill)
Learn how to thin miniature paint correctly using water or medium. Covers ratios, consistency targets, and the two-thin-coats rule for beginners.
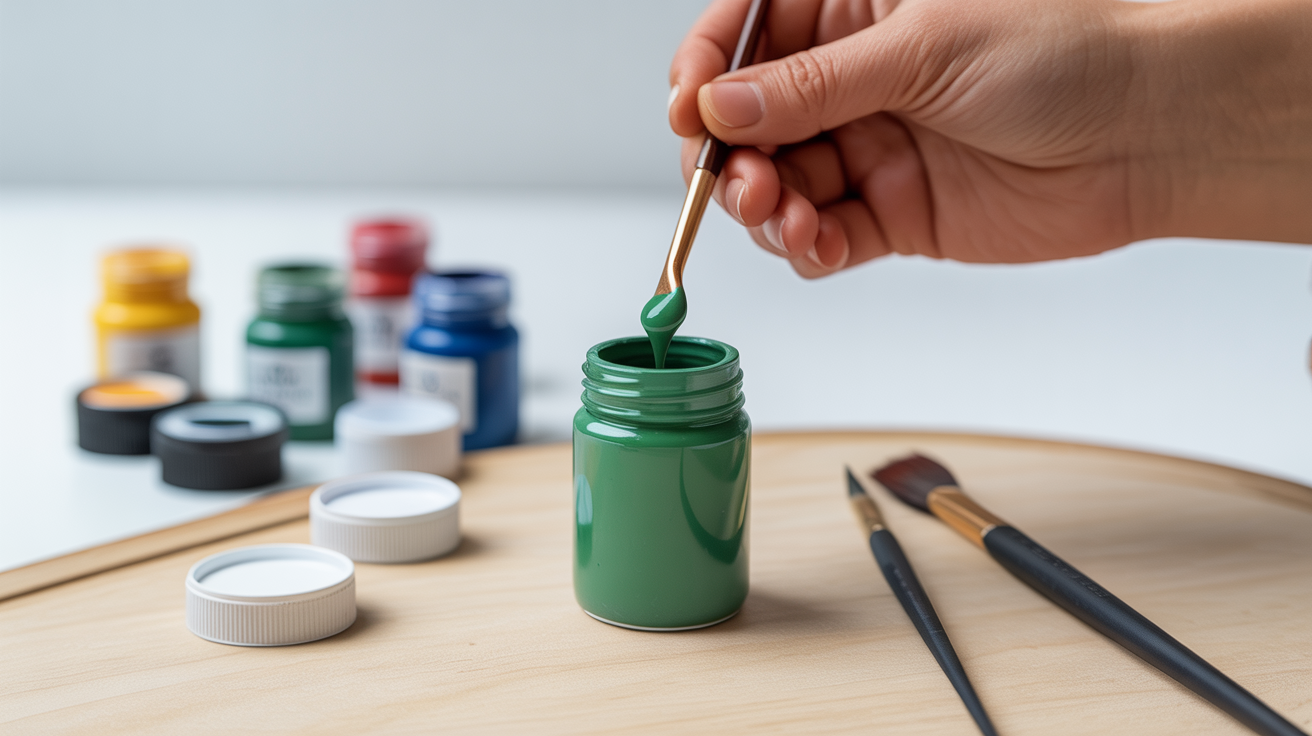
Straight from the pot, most acrylic miniature paints are too thick to apply well. Learning how to thin miniature paint is the single habit that separates muddy, detail-hiding coats from smooth, crisp coverage. Add a drop or two of water (or a purpose-made medium), test the consistency on a palette, and your results will improve immediately.
Why Thinning Actually Matters
Unthinned paint behaves like thin paste. It drags across the surface, pools in recesses, and fills in fine detail like panel lines and raised edges. Once it dries, there is no fixing that without stripping and starting over.
Thinned paint flows. It follows the brush, settles flat, and lets the sculpt do the talking underneath. The pigment still builds up with each layer, but each individual pass stays thin enough that you can see exactly what you are doing.
There is a trade-off: thinner paint means less coverage per coat. That is a feature, not a bug. You will apply two or three thin coats instead of one thick one, which sounds like more work but is actually faster overall because you spend no time scraping off lumps, rescuing drowned detail, or repainting over a ruined surface.
This is where the phrase "two thin coats" comes from. It is the single most repeated rule in the hobby, and it exists because it solves nearly every beginner painting problem at once.
If you want to understand what paints you are actually working with, miniature paints explained: acrylics, washes, and contrast is a useful read before going further.
The Milk Consistency Target
You need a reference point for how thin is thin enough. The most useful one is liquid dairy.
Straight-from-the-pot acrylic typically has the texture of heavy cream or thick yoghurt. That is too thick. Your target for base coats and layer paints is closer to whole milk: fluid, slightly opaque, and easy to move. For very thin glazes or wet-blending work, you might go as far as skimmed milk.
Here is a quick reference:
| Consistency Target | Texture Analogy | Common Use | Approximate Ratio (paint:water) |
|---|---|---|---|
| Too thick | Yoghurt / heavy cream | (avoid) | Straight from pot |
| Base coat | Whole milk | First coverage layers | 2:1 or 3:1 |
| Layer / highlight | Semi-skimmed milk | Building colour | 2:1 |
| Glaze / filter | Skimmed milk or tinted water | Smooth colour transitions | 1:3 or more |
| Wash (DIY) | Ink in water | Shading recesses | 1:4 or more |
These ratios are not absolute. Every paint brand has a different out-of-pot consistency. Some ranges are thicker, some are already close to the right texture. Treat the ratios as a starting point, not a formula.
The best way to check consistency is to pull the brush sideways across your palette. Milk-consistency paint flows smoothly and levels out on its own within a second or two. Heavy-cream paint stays where the brush dragged it and holds a visible ridge.
Water vs. Thinning Medium: What to Use
Water is the accessible starting point. It is free, always available, and works fine for most painting tasks. A small drop on the palette before you add paint is enough for most people to dial in the consistency.
The limitation of water is that it reduces surface tension along with everything else. Very thin, water-heavy mixes can "bead" on primed plastic, especially if the primer has a slightly waxy or smooth finish. The paint refuses to sit flat and instead crawls into islands. This is called "tide-lining" or "pooling," and it happens most often with very light colours like white or yellow that need heavy thinning to cover.
A flow improver addresses the beading problem. It reduces surface tension without breaking down the acrylic binder as aggressively as water. You can add one or two drops to a bottle of water to make a general-purpose thinning mix.
A thinning medium (also called a lazing medium or extender) keeps the paint fluid longer and adds a touch of transparency. It is particularly useful for blending and glazing because the paint stays workable on the model for a few extra seconds.
For most beginners painting base coats and highlights, plain water is completely sufficient. Introduce thinning mediums once you start experimenting with blending techniques and notice water causing beading on specific paint colours.
How to Thin Your Paints Step by Step
You do not need to measure anything. The process becomes intuitive within a few painting sessions.
Set Up a Palette
Working from a palette is non-negotiable for thinning paints. Squeeze or scoop a small amount of paint onto the surface. A wet palette keeps paint fluid for hours; a dry tile or paper palette works if you work quickly. How to use a wet palette for miniature painting covers the setup if you have not used one before.
Add Liquid One Drop at a Time
Using a dropper or the tip of a clean brush, add a single small drop of water next to the paint on your palette. Mix them together with the brush and observe the result.
The temptation is to add more liquid than you need up front. Resist that. Undoing too-thin paint requires adding more paint from the pot, which wastes material. Start with less than you think is necessary and work up.
Do the Brush Drag Test
Pull the loaded brush sideways across a spare section of the palette. The paint should flow smoothly and level out within one to two seconds. If it holds a ridge, add a fraction more water. If it spreads immediately into a runny puddle, add a tiny amount of fresh paint to thicken it back up.
Test on a Spare Surface
Before touching the model, drag the brush across a piece of scrap plastic, a spare sprue arm, or the back of a spare base. This shows how the paint actually behaves on a primed surface, which can differ from how it looks on a palette.
Signs You Have Gone Too Thick or Too Thin
Knowing what has gone wrong is easier to learn from a list than from trial and error alone.
Too thick:
- The brush drags and leaves visible stroke marks
- Detail fills in or loses crispness after the coat dries
- The paint dries with a slight texture (grainy or bumpy surface)
- Coverage is dense after just one pass, which sounds good but usually means the coat is too heavy
Too thin:
- The paint beads up on the model surface instead of lying flat
- It takes four or more coats to get any visible colour on the model
- The dried surface looks streaky, with visible tide lines where pools dried
- The paint runs into recesses on its own, even on flat surfaces
The sweet spot gives you a coat that is just slightly translucent after a single pass, builds to full coverage in two passes, and dries dead flat with no streaking or brush marks visible.
Thinning by Paint Type
Not every paint in your collection behaves the same way, and the right thinning approach varies.
Base and layer paints respond well to small amounts of water or medium. These are your workhorse paints for coverage and highlighting, and the milk-consistency rule applies directly.
Washes and shading paints are already pre-thinned with flow improver and a slower-drying medium. You rarely need to add anything. Adding water to a wash can break its formulation and cause tide-lining.
Contrast and speed paints are formulated to behave a specific way over a bright white or grey primer. Thinning them heavily changes that behaviour significantly. A small amount of the manufacturer's specific contrast medium is the right approach if you need to slow them down or make them more workable; plain water tends to ruin the effect.
Drybrushing paints should not be thinned at all. Drybrushing works because the paint is nearly dry on the brush. Adding liquid defeats the purpose entirely.
For a broader look at how all of these paint types fit together, what brushes do you need for miniature painting pairs well with this article, since the brush choice affects how thinned paint moves and behaves.
Building the Habit
The biggest obstacle is that thinning paint adds a few seconds to every colour you pick up. That feels slow at first, especially when you are eager to see colour on a model.
After a handful of sessions, it stops feeling like a step and starts feeling like the natural start to any painting action. The palette is open, the brush touches the paint, you add a drop, you stir, you test. Total time: about five seconds.
The visible difference in results is immediate and obvious. Base coats stay thin. Detail stays readable. Highlights blend smoothly instead of sitting on the surface like white blobs. Every other skill in the hobby, blending, layering, glazing, object source lighting, depends on this foundation. Get it right early and you will not have to unlearn anything later.
Frequently Asked Questions
How much water should I add to thin miniature paint?
Start with a single small drop of water per pea-sized amount of paint, mix, and test the consistency. The target is a fluid, whole-milk texture that flows smoothly from the brush. Add more water one drop at a time until you reach it. There is no universal ratio because different paint ranges start at different consistencies.
Can I use tap water or does it need to be distilled?
Tap water is fine for the vast majority of miniature painters. Distilled water prevents mineral deposits from accumulating in your paints over time, which can become relevant if you store partially thinned mixes, but for normal palette use the difference is not meaningful.
What happens if my paint is already too thin?
Add a small amount of fresh paint directly from the pot to the palette and mix it in. This thickens the mix without wasting the paint you already pulled out. If the mix has become very watery and separating, it is usually faster to wipe the palette and start over with a fresh amount.
Is thinning medium better than water for beginners?
Water is a perfectly good starting point and most beginners do not need anything else. Thinning medium becomes useful once you notice water causing beading or drying too fast for blending work. Buy a small bottle after you have a few painting sessions under your belt so you can tell what problem it is actually solving.
Do washes and contrast paints need to be thinned?
Usually not. Washes are pre-thinned and adding water can break the formulation. Contrast paints have a specific medium that controls their pooling behaviour; water disrupts that. Use the manufacturer's dedicated medium for those paint types if you need to adjust them.