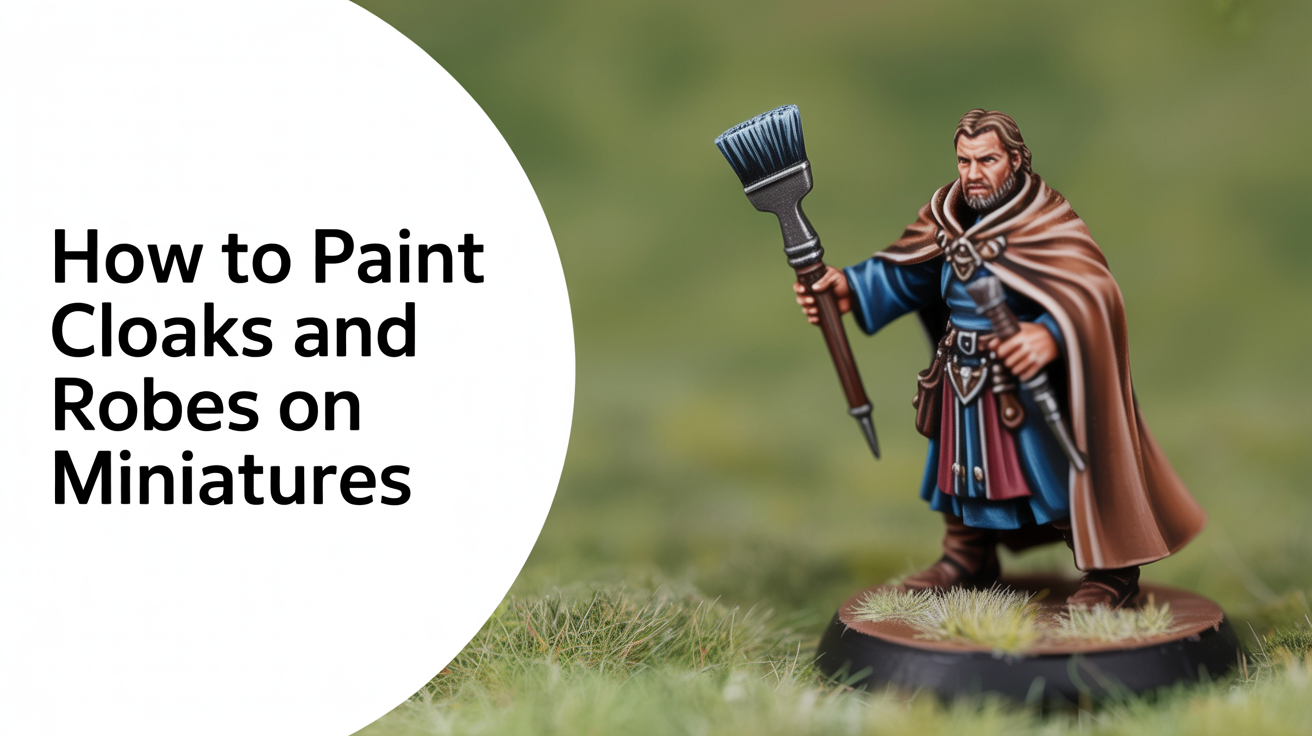
How to Paint Cloaks and Robes on Miniatures
Learn how to paint cloaks and robes on miniatures with simple wash, drybrush, and layering steps that make fabric look three-dimensional.
Cloaks and robes look intimidating because they cover so much surface area. All those folds and ridges seem like a puzzle, and beginners often freeze up trying to figure out where to put shadows and where to put light. The good news is that cloth is one of the most forgiving surfaces to paint. The technique almost always works, and the steps are short.
Reading the Folds Before You Pick Up a Brush
Before you apply any paint, spend sixty seconds looking at the sculpted cloth on your miniature. Run your finger gently over it if that helps.
The key shapes to find are:
- Raised ridges -- these are where light would naturally land. They get your highlights.
- Deep recesses and creases -- these are where shadows pool. They get your darkest tone.
- Wide flat areas between ridges -- these stay close to your base color.
That mental map is all you need. You do not have to understand how real fabric folds behave. The sculptor already made those decisions for you. Your job is to respond to what is already there.
If you have never practiced reading a sculpt before painting, take a desk lamp and hold it above the miniature at a 45-degree angle. The actual shadows the lamp casts are a rough preview of where your painted shadows should go. This trick alone removes a lot of guesswork.
Base Coating the Cloth
Before shading and highlighting, you need a solid, even base color across the entire cloak or robe. If you need a refresher on laying down that first layer cleanly, the guide on base coating miniatures covers the basics well.
For cloth specifically, thin your base coat slightly more than you would for armor. A thinner coat settles into recesses less and leaves the raised detail crisper, which makes the shading step easier later. Two thin coats are better than one thick one.
Pick a mid-tone as your base. If you want a dark red cloak, do not start with the darkest red you have. Start in the middle of the range you plan to use. That gives you room to go darker with washes and lighter with highlights.
Using a Wash to Create Depth in Recesses
A wash is the fastest way to make cloth look three-dimensional. If you want to understand how washes work in general, the guide on using washes to shade your miniatures explains the mechanics clearly.
For robes and cloaks, apply your wash across the whole surface and let capillary action do the work. The wash will flow into the recesses on its own and darken them. You do not need to be precise at this stage.
A few tips for cloth specifically:
- Use a larger brush than you think you need. A size 1 or even a size 2 moves the wash quickly and reduces the chance of it pooling and drying with a tide mark.
- If the wash starts to pool on a flat area, wick the excess away with a dry brush tip before it dries. Touch the dry bristles to the pool and they will absorb the liquid.
- Let the wash dry completely before moving on. This usually takes fifteen to twenty minutes. Do not rush it.
After the wash dries, the cloak already looks better than it did. The recesses are darker, the flat areas stayed close to your base color, and the ridges are still relatively light. From here you are just reinforcing what the wash already started.
Drybrushing to Catch the Ridges
Drybrushing is perfect for cloth because it naturally lands on raised surfaces and skips the recesses. The step-by-step technique is covered in the guide on drybrushing miniatures, so this section focuses on how to adapt it for fabric.
Pick a color one or two shades lighter than your base coat. Load your brush, wipe almost all of it off on a paper towel, and then drag the brush lightly across the surface of the cloak. The bristles will catch the tops of the ridges and leave a faint trace of lighter color there.
Repeat this two or three times, each time using a slightly lighter color and an even drier brush. This builds a gradual transition from the dark recesses to the bright ridge tops.
For large robes on a figure like a wizard or a monk, drybrushing alone is often enough to look good at arm's length. The result is not a contest-winning blended gradient, but it reads as three-dimensional cloth on the table, which is exactly what you need.
Layering Highlights for a Cleaner Look
If you want to go a step further, you can follow the drybrush with careful layered highlights on the most prominent ridges. The guide on layering paint on miniatures goes into detail on the technique.
The idea is simple. Mix your base color with a lighter color and apply it to only the top third of each raised ridge. Then mix in even more of the lighter color and apply it to just the very tip. You are narrowing the highlight each time rather than painting the whole ridge.
Use a small brush for this, a size 0 or 00, and keep the paint thin enough to flow smoothly but not so thin it runs into the recesses. If a highlight goes in the wrong place, let it dry and reapply the mid-tone over it to correct.
This step takes longer than drybrushing but produces a crisper, more controlled result. On a display piece or a hero model you want to stand out, layering is worth the extra time. On rank-and-file troops, the drybrush is usually enough.
Frequently Asked Questions
What color should I use for my cloak wash? Match the wash to your base color. A warm brown wash (like a sepia) works well over reds, oranges, and tans. A blue-black or purple-black wash works well over cool colors like grey, blue, and green. A neutral dark brown wash is a safe starting point if you are unsure. Experiment on a cheap test model before committing to the approach on a character.
My wash dried with a ring or tide mark on the flat areas. How do I fix it? Reapply the base color over the flat area to erase the ring, then redo the wash more carefully. Next time, move faster and keep the wash thinner. You can also try applying the wash in sections and blending the edges before they dry, rather than flooding the whole surface at once.
Can I paint cloth without drybrushing? Yes. Layering alone produces excellent results and some painters prefer it because it gives more control. The tradeoff is time. Drybrushing is faster and more forgiving for beginners. Most painters use drybrushing first to establish the highlights, then refine the results with a few careful layered lines on the most prominent ridges.
How do I make the cloak look like a specific material, like velvet or rough wool? Velvet and silk both have very smooth, subtle highlights rather than sharp ones. Keep your highlights narrow and blend them down gradually using thin layers. Rough wool or burlap looks more textured and inconsistent, so heavier drybrushing and deeper washes work better. The paint technique follows the surface you are trying to mimic.
Do I need an airbrush to paint smooth cloth? No. Every technique in this guide uses a regular brush. An airbrush can speed up certain steps and produce very smooth gradients, but it is not necessary. Brush-on washes and careful thin layers produce results that look great on the tabletop without any spray equipment. If you do use spray primers or an airbrush for any part of the process, work in a ventilated space and follow the manufacturer's safety guidance.