Base Coating Miniatures: How to Lay Down Your Colors
Learn how to base coat miniatures with confidence. Covers thinning paint, two thin coats, brush vs airbrush, and common beginner mistakes to avoid.
Base coating is the step where a primed miniature gets its first layer of actual color. Get it right and every technique that follows, shading, highlighting, layering, builds on a clean, even surface. Rush it and you spend twice as long fixing problems that a little patience up front would have prevented.
What a Basecoat Actually Does
A basecoat is not just "slapping on some paint." It establishes the foundational color that everything else reads against. Think of it as painting a wall before you hang art: the final look depends on a smooth, consistent background. For miniatures, the basecoat sits on top of your primer and below any washes or highlights.
Good basecoating minis means full coverage with no streaks, no brush marks, and no loss of sculpted detail. That last point trips up a lot of beginners. Paint is thick. Too much of it in recesses blobs over sharp edges and fills gaps that give a sculpt its depth. The fix is thin coats, applied with patience.
Thinning Your Paint: The Core Habit
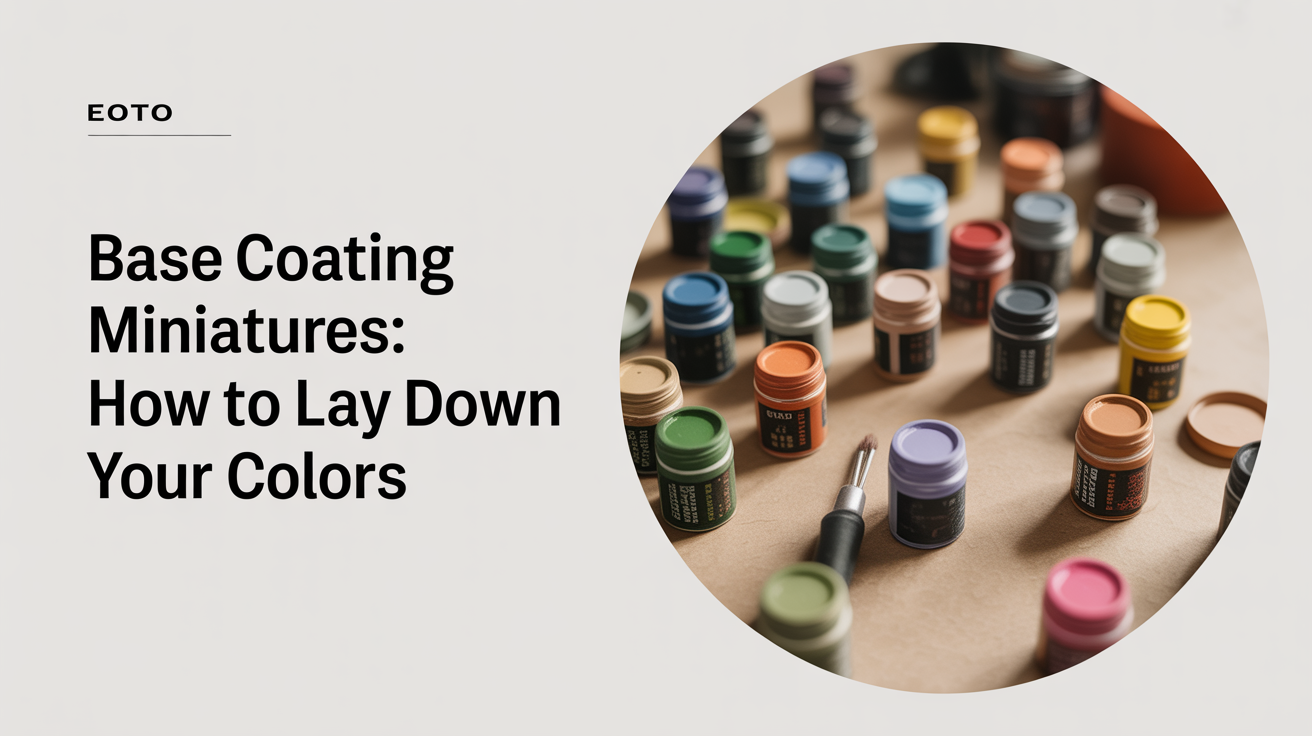
Paints designed for miniature painting come pre-mixed for brush work, but they are almost always too thick to apply straight from the pot in a single pass. A small amount of water, typically one to two drops per brushload, brings them to what painters call a "milk" consistency: fluid enough to flow off the brush but opaque enough to build coverage quickly.
How much to thin depends on the paint range you use. Some formulations are thinner out of the bottle than others. A good test is to pull a loaded brush across a piece of white paper or a spare sprue. The paint should flow smoothly without pooling, and you should not see thick ridges at the edges of the stroke.
Things that thin basecoats well:
- Distilled or tap water (free, works fine for most paints)
- Dedicated acrylic medium (slows drying slightly, reduces tide marks)
- Flow improver (helps paint slide into recesses without pooling)
Avoid over-thinning. Paint that is too watery takes forever to reach opacity, tends to pool in recesses, and can leave a grainy, chalky finish when it dries.
Two Thin Coats: Why It Matters
The phrase "two thin coats" gets repeated constantly in miniature painting communities, and for good reason. A single thick coat tries to achieve full coverage in one pass. That means more paint, which means more pooling in recesses, more brush strokes visible in the dried surface, and a higher risk of cracking or flaking later.
Two thin coats take a few extra minutes but produce a noticeably better result. The first coat will look patchy. That is fine. Let it dry fully, usually five to ten minutes in a warm room, then apply the second. By the time the second coat is down, you have solid coverage with a fraction of the texture problems.
Here is a quick comparison:
| Approach | Coverage | Surface Texture | Detail Loss |
|---|---|---|---|
| One thick coat | Good | High (brush strokes, pooling) | High (fills recesses) |
| Two thin coats | Very good | Low (smooth) | Low |
| Three very thin coats | Excellent | Minimal | Minimal |
For most colors, two coats is the practical sweet spot. Very light colors, bright yellows, pure whites, and some reds may need three or four passes to reach opacity over a dark primer. Starting with a light grey or matching color primer for those tricky pigments saves a lot of back-and-forth.
Brush Basecoating: Technique and Tool Choice
A flat or round brush with a good point gives you the most control for how to base coat miniatures by hand. Size 1 or size 2 rounds are a common choice for infantry-scale figures. For large flat areas like cloaks or vehicle panels, a flat wash brush or a wider round keeps the job from taking all afternoon.
Loading the Brush
Load the brush from your palette, not straight from the pot. Pour or squeeze a small amount of paint onto a wet palette or tile, then thin it there. Dip the brush, wipe the excess on the palette edge so you have a controlled amount of paint in the bristles, and apply with light, even strokes.
Stroke Direction
On broad surfaces, work in short strokes following the natural lines of the sculpt. On curved areas like cloaks, armor, or skin, follow the curve rather than fighting it. On detailed areas, stipple gently with the tip of the brush rather than dragging across raised detail.
Avoiding Brush Marks
Brush marks show up when paint dries before you have smoothed it out. Keep your working area reasonably humid, work in small sections, and go back over a section while the paint is still slightly wet to smooth any ridges. A damp palette keeps your thinned paint from skinning over mid-session.
Airbrush Basecoating: A Faster Path to Smooth Coverage
An airbrush sprays a fine mist of thinned paint, which means even, smooth coverage across large areas in a fraction of the time a brush takes. For basecoating minis, it is particularly useful on armies of ten, twenty, or fifty figures that all need the same base colors.
The trade-off is setup time and cleaning. An airbrush needs to be cleaned between colors, and the compressor, hose, and tool itself represent a meaningful upfront cost compared to a few brushes. Most beginners start with brushes and add an airbrush later once they know they enjoy the hobby.
If you do use an airbrush for basecoating:
- Thin paint to a skimmed milk consistency (thinner than brush work)
- Keep passes light and even, build opacity with multiple passes
- Work at low to moderate air pressure to avoid frosting or spattering
- Hold the airbrush about ten to fifteen centimetres from the figure
Both methods produce great results. Brush basecoating is precise and accessible; airbrushing is fast and very smooth. Many painters use both, airbrush for broad colors, brush for details and corrections.
Common Basecoating Mistakes and How to Fix Them
Even experienced painters run into the same handful of problems. Knowing what to look for saves a lot of frustration.
Paint pooling in recesses. Usually caused by too much paint on the brush or paint that is too thick. Thin it down and use a drier brush. If pooling already happened and dried, you can sand lightly with very fine grit sandpaper on flat surfaces, or simply work more carefully on subsequent coats to avoid adding to the problem.
Streaky, uneven coverage. Typically a sign of too little paint or paint that dried too fast between strokes. Add a drop of medium or slow down by keeping the figure in a slightly cooler spot while you work.
Loss of surface detail. Paint built up in layers over multiple sessions can gradually fill in fine lines. The fix is to thin paint properly and not apply more coats than necessary. If detail is already gone, stripping the model with isopropyl alcohol and starting over is sometimes the only real option.
Patchy color after two coats. Some pigments, particularly yellows, magentas, and pure whites, are notoriously thin. Apply a first coat of a similar but more opaque color as a base, then layer the difficult color on top. For example, a warm cream basecoat before a bright yellow reduces the number of yellow coats needed by half.
Once your basecoat is solid and dry, the next move is typically shading. A well-placed wash can define shadows and add depth in minutes. See how to use washes to shade your miniatures for the full walkthrough.
Choosing Colors for Your Basecoat
The color you choose for your basecoat influences every step that follows. A few practical points:
Shade the basecoat slightly darker than your target final color. Highlights and subsequent layers push the value up, so starting a bit dark gives you more room to work. If you basecoat with the exact final color, your highlights will either be very subtle or blown out.
For skin, start with a midtone that reads as skin in bad lighting. You will add shadows with washes and lights with layering, but the midtone anchor keeps everything coherent.
For metals, some painters basecoat with a dark brown or black before applying metallic paint. This gives the metal a depth that a single metallic coat never quite achieves on its own.
For large blocks of flat color, such as Space Marine-style armor plates, the basecoat is doing most of the visual work. Take the time to get it clean. Drybrushing and washes do less to fix messy basecoats than many beginners expect. Read more about what comes next in the drybrushing miniatures beginner's guide.
Building Toward Your First Highlight
Once the basecoat is dry and even, you have a foundation ready for the full painting pipeline. The sequence most beginners find reliable is basecoat, wash, then layer or drybrush for highlights. The basecoat is the anchor for all of that. A clean, thin basecoat makes washes flow naturally into recesses, makes highlights pop against a consistent midtone, and keeps the finished figure reading as a coherent, painted object rather than a tangle of mismatched colors.
For a closer look at how layering builds on a solid basecoat, layering paint on miniatures for smooth highlights covers the technique in detail.
Frequently Asked Questions
Do I need to thin my paint every time I basecoat?
Almost always yes. Straight-from-the-pot consistency works occasionally on very forgiving surfaces, but thinning to a milk-like flow gives you more control, better coverage with less texture, and reduces the risk of filling in sculpted detail. Building the habit early saves a lot of headaches.
How long should I wait between coats?
Five to ten minutes at room temperature is usually enough for acrylic miniature paint. The surface should feel dry to a very light touch. Applying a second coat over paint that is still wet tends to pull the first layer off the surface, causing streaking.
Can I basecoat over primer that has already been painted on?
Yes. Primer is just a preparatory coat designed to accept paint well. Whether you prime then basecoat immediately or come back days later makes no practical difference, as long as the primer is fully cured and not contaminated with dust or oils from handling.
Is brush or airbrush better for basecoating?
Neither is objectively better. Brushes give you precise control and need no extra equipment. Airbrushes produce smoother coverage faster and are particularly useful for batch painting. Most painters start with brushes and introduce an airbrush once they are confident the hobby will stick.
Why does my yellow (or white) basecoat look patchy even after four coats?
High-transparency pigments, yellows, oranges, bright reds, and pure whites, require more coats to reach opacity than most colors. The practical fix is to apply a more opaque intermediate coat in a similar value first, a warm cream or pale flesh for white, a pale orange or tan for yellow, then apply your target color on top. You will reach solid coverage in two to three coats instead of five or six.