How to Hold the Brush and Load Paint Correctly
Learn how to hold a miniature brush and load paint for better control. Simple techniques that immediately improve your results as a beginner.
Good brush control solves a surprising number of beginner problems. Shaky lines, blobs of paint, colors bleeding where they should not, all of these trace back to two things: how you hold the brush and how much paint you put on it. Fix those two habits early and every technique you learn after this becomes easier.
How to Hold a Miniature Brush
The most reliable grip for miniature painting is something close to a pencil hold, but lower on the handle than you might expect.
Place the brush between your thumb and the side of your index finger, with your middle finger underneath for support. Your ring finger and pinky curl down toward your palm. Now shift your grip so your fingers are roughly 1 to 2 centimeters from the ferrule (the metal band that holds the bristles). Holding closer to the ferrule gives you more control over fine detail; sliding up the handle toward the end gives you a looser, more flowing stroke for larger areas.
Stabilize with your pinky. Rest your pinky finger against the miniature, the base, or the edge of your work surface. This creates a physical anchor that damps out the small tremors everyone has in their hand. Many painters also rest their whole painting hand on the table or prop their elbow. The goal is to move only the brush tip, not your whole arm.
Rotate the mini, not the brush. Instead of twisting your wrist into awkward angles, hold the base of the miniature in your non-painting hand and rotate it to bring the area you are working on toward you. This keeps your painting hand in a comfortable, stable position for almost every stroke.
If you find your grip tightening as you concentrate, that tension travels right down into the brush tip. Take a breath, loosen your fingers slightly, and keep going. Grip tension is one of those things you will catch yourself doing dozens of times before it becomes automatic to release it.
Loading a Brush for Miniature Painting
Overloading a brush is the single most common beginner mistake, and it explains why paint runs into recesses, pools at the base of details, or looks thick and gloopy on the surface.
Here is the process that works:
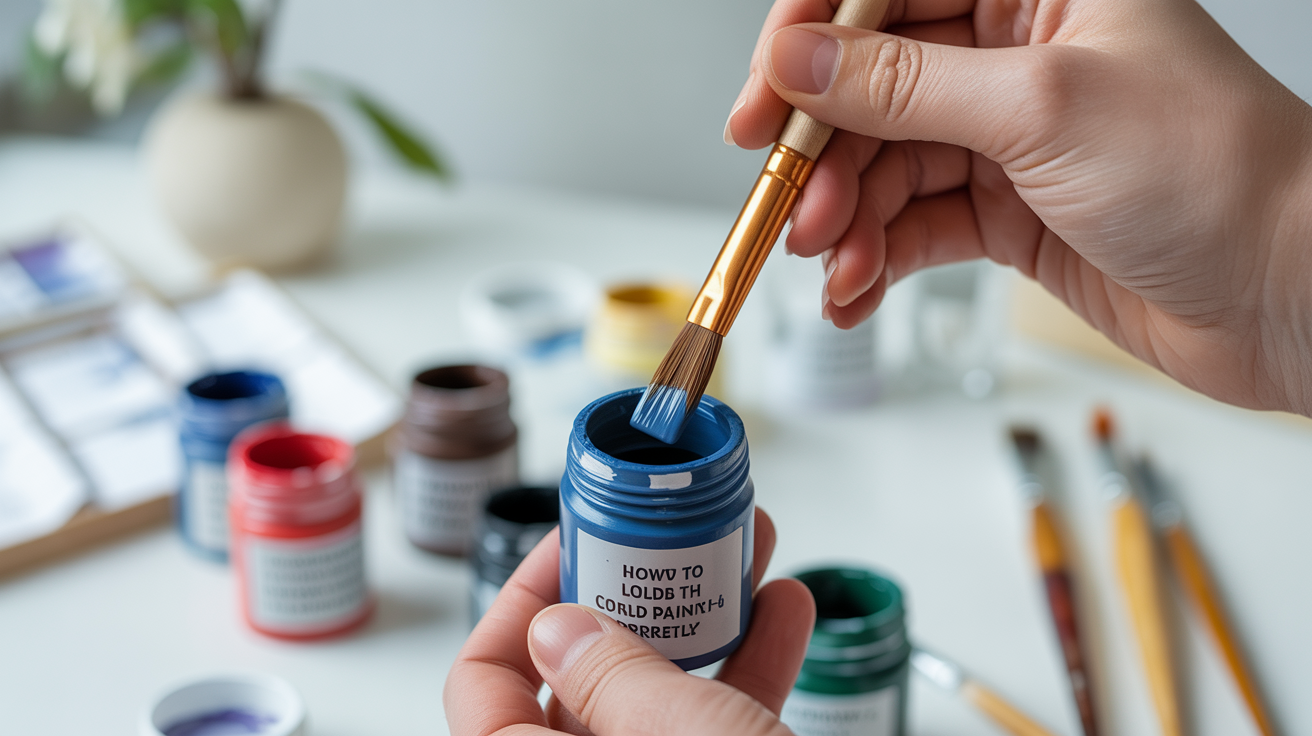
- Dip just the tip of your brush into the paint, picking up a small amount.
- Wipe the side of the brush on the rim of your palette or water pot to remove the excess. You want a slight point on the tip, with paint visible but not dripping.
- Test the brush on a piece of paper or spare card. If a stroke flows without flooding out, the load is right. If it spreads in a blob, wipe again.
The two-thirds rule. For most work, aim to load paint only into the bottom third to half of the bristles, not up into the ferrule. Paint that works its way into the ferrule dries there, permanently splaying the bristles outward and ruining the brush's point. After each painting session, rinse brushes thoroughly and reshape the tip before setting them down.
Thin your paints first. Straight-from-the-pot paint is almost always too thick for fine brush control. A small amount of water on your palette, mixed until the paint flows like whole milk rather than cream, gives you much better control and a more even coat. For a deeper look at consistency, see how to thin your paints.
Brush Control for Minis: Practical Strokes
Once your grip is stable and your brush is loaded correctly, the strokes themselves are short and deliberate.
Pull, do not push. Draw the brush toward you rather than pushing it away. Pulling keeps the bristles trailing behind the ferrule, which maintains a consistent line. Pushing bends them sideways and causes the stroke to wander.
Light pressure. You want only the very tip of the brush touching the surface for detail work. Press harder and the bristles splay, the line widens, and you lose control. Think of it as painting with the point of a pen rather than pressing paint down with a flat tool.
Short overlapping strokes. For base coating a larger area, use short strokes that overlap slightly rather than one long sweep. This helps keep the coat even and gives you time to catch and blend any excess paint before it dries.
For a rundown of which brush sizes and shapes are worth buying, what brushes do you need for miniature painting covers the practical starter set.
Caring for Your Brushes While You Paint
Brushes deteriorate fast if you leave them sitting in water or let paint dry in the bristles. A few habits during a session protect them.
| Habit | Why it matters |
|---|---|
| Rinse in water between colors | Prevents dried paint buildup near the ferrule |
| Blot on a paper towel after rinsing | Keeps the tip formed and removes excess water |
| Never rest brushes bristle-down in a water pot | Bends and splits the tip permanently |
| Reshape the tip before setting down | Keeps the point for next time |
| Store brushes flat or tip-up | Gravity pulls wet bristles out of shape |
A brush that still holds a sharp point after months of use is not a luxury item, it is just a brush that was stored and rinsed correctly every session.
Putting It Together
The grip, the load, and the stroke work as a system. A correctly held brush with too much paint still makes a mess. A lightly loaded brush with a tense, shaky grip still produces wobbly lines. Work on all three at the same time, even if that means spending ten minutes painting straight lines on a piece of card before you touch a model.
Practicing on a cheap model or a piece of cork lets you build muscle memory without the pressure of getting it right on a model you care about. Most painters find that grip and load start to feel natural within a few sessions. From there, the techniques build on each other quickly.
Once you have a feel for how paints behave on the brush, it is worth understanding the different types you are working with. Miniature paints explained: acrylics, washes, and contrast walks through how each formula handles differently and when to reach for each one.
Frequently Asked Questions
Why does my paint keep flooding into the recesses even when I think I have loaded the brush lightly?
The paint is probably still too thick. Even a moderately loaded brush will flood if the consistency is closer to cream than milk. Try thinning more aggressively and wiping the brush on your palette rim twice before touching the model. The test stroke on paper is the most reliable check.
My hand shakes when I paint tiny details. Is that normal?
Yes. Almost everyone experiences this, especially when concentrating hard. Anchoring your pinky to the model or the table usually reduces it significantly. Some painters also find that taking a slow breath out while making the stroke helps. If tremors are persistent and severe, painting after coffee or high-stress moments makes it worse, so timing matters too.
How do I know if I am holding the brush too tight?
Check your knuckles. If they are whitening, you are gripping too hard. Another sign is that the strokes feel mechanical and stop-start rather than smooth. Consciously loosen your grip until the brush feels like it might slip, then firm up just slightly from there.
What is the best way to keep brush tips sharp?
Rinse frequently during the session, blot dry rather than pressing hard on the towel, and reshape the tip with your fingers or lips before setting the brush down. Avoid leaving paint in the brush for more than a minute or two, and never store brushes resting on the bristles. A good synthetic brush treated this way can last many months.
Can I use the same brush for all my paints?
You can, but it slows you down because you need to rinse between every color. Most painters keep two or three brushes active at once for the colors they are currently using on a model. Dedicated brushes for basecoating, detail work, and washes let you switch without stopping to clean.