How to Fix Frosted or Cloudy Varnish
Frosted varnish ruins the look of a finished mini. Learn what causes the white haze and how to fix cloudy varnish fast with a few simple steps.

You sealed your miniature, waited for it to dry, and now there's a white, milky haze sitting over all your hard work. That is frosted varnish, and it is one of the most disheartening things that can happen at the end of a paint job. The good news: it is almost always fixable without stripping the model down and starting over.
At a Glance
- Frosting is caused by moisture getting trapped in or under the varnish as it dries, most often from high humidity or a cold room.
- A thin gloss varnish coat over the frosted area is the most reliable first fix and clears the haze in most cases.
- The original paint job underneath is almost always fine. Frosting sits at the surface of the varnish layer only.
- Prevention beats repair: check humidity and temperature before spraying, shake the can a full two minutes, and use thin passes.
- Sealing in two stages, gloss first, matte second, is more forgiving of borderline conditions than a single matte coat.
- If nothing clears it, isopropyl alcohol above 90 percent will strip acrylic paint and varnish as a last resort.
What Causes Frosted Varnish
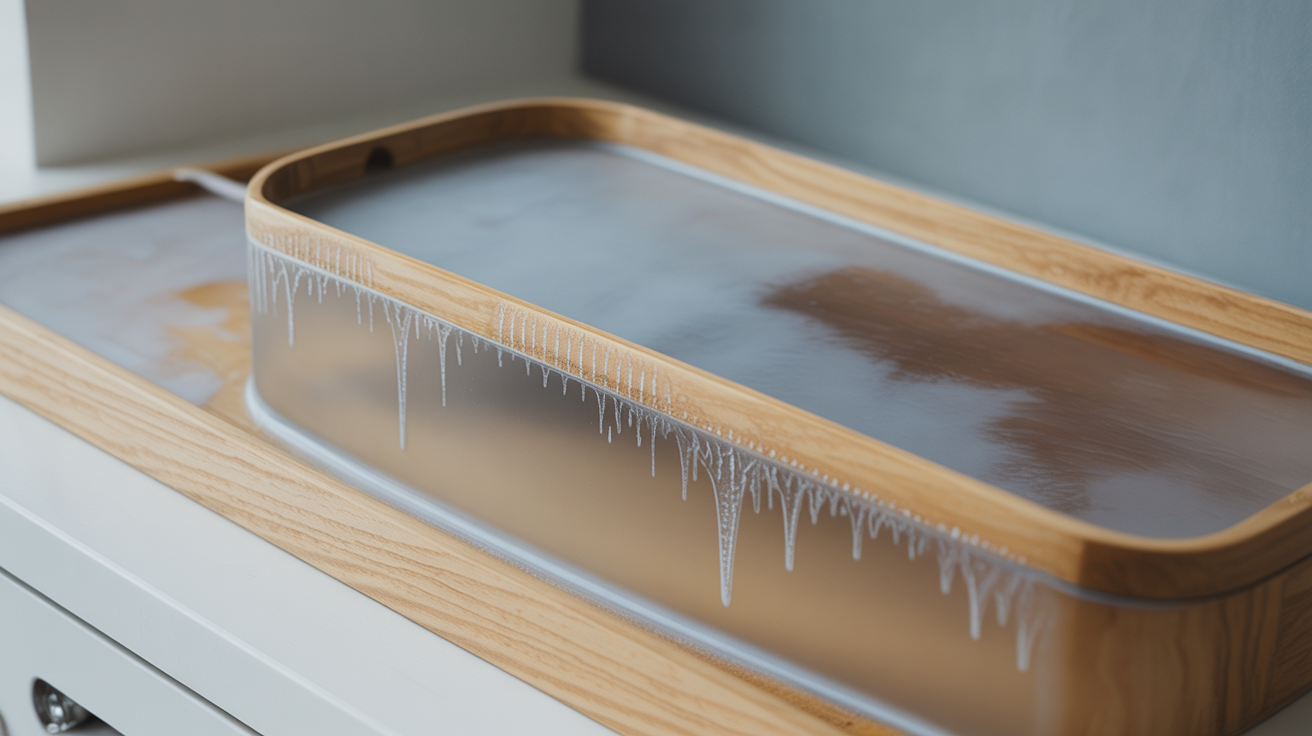
Frosting happens when moisture gets trapped in or under the varnish layer as it dries. The tiny water droplets scatter light instead of letting it pass through cleanly, which is what gives the surface that chalky, matte-gone-wrong appearance. It is a variation on a well-documented problem in coatings generally: Wikipedia's article on humidity notes that as relative humidity approaches 100 percent, condensation begins to form directly on surfaces, which is the same mechanism at work when moist air interferes with a curing varnish film rather than a dry one.
The most common triggers are:
- High humidity. Spraying varnish when the relative humidity is above 60 to 65 percent is the single biggest cause of frosting. Moisture in the air gets pulled into the wet varnish before it can cure.
- Cold temperatures. Varnish cures more slowly in the cold, which gives moisture more time to interfere. Below about 10°C (50°F) is risky territory. Wikipedia's overview of varnish confirms that heat and humidity both play a large role in how varnish dries and cures, which is exactly why the same product behaves differently from one session to the next if you do not control for conditions.
- Shaking the can too little. Aerosol varnishes have a solvent and a resin that separate in storage. If you do not shake the can for at least two minutes, you can spray an uneven mix that dries unevenly.
- Spraying too close or too heavily. A thick, wet coat takes much longer to dry and is more vulnerable to humidity during that window.
- Certain paint formulations underneath. Some fluorescent, contrast, or speed paints have surface properties that react poorly with certain varnishes.
Understanding the cause matters because one or two of the fixes below work better depending on what went wrong.
How to Fix It with a Gloss Varnish
This is the most reliable repair for frosted varnish, and it works in a large percentage of cases.
Apply a thin coat of gloss varnish over the frosted surface. Use a brush-on gloss varnish rather than a spray if the humidity that caused the frosting has not dropped yet. The gloss varnish has a different chemistry than matte varnish: it is more fluid, penetrates the disturbed surface layer, and dries hard and clear. Most of the time it will dissolve and re-level the cloudy layer.
Let the gloss dry completely, at least an hour and ideally longer. Then assess. If the frosting is gone, you can leave the model with a gloss finish or apply a very light coat of matte varnish once conditions are dry enough.
What to Do If Gloss Does Not Fully Clear It
Apply a second thin coat of gloss and give it more time. Stubborn frosting sometimes needs two passes. If after two gloss coats the haze is still visible, move to the next fix.
How to Fix It with a Matte Varnish Applied in Better Conditions
Sometimes the easiest fix is to wait. If the frosting happened because of high humidity, let the model sit for 24 hours in a drier environment. The frosting may improve on its own as the trapped moisture escapes.
Once conditions are better (humidity below 60 percent, temperature above 15°C or 60°F), apply another thin coat of matte or satin varnish. Two thin coats are always safer than one heavy coat. Hold the spray can 25 to 30 cm (10 to 12 inches) away, spray in short passes, and keep moving. If you are working indoors, EPA guidance on ventilating VOC-emitting products recommends opening a window or using an exhaust fan any time a label calls for a well-ventilated space, which applies to nearly every aerosol varnish on the market.
If you are using a brush-on varnish, thin it slightly with water if the instructions allow, and apply it in a smooth, even pass without going back over wet areas.
How to Fix Severe or Persistent Frosting
If the gloss varnish approach did not clear the haze and reapplication in dry conditions did not help either, you have a few more options before accepting the loss.
Try a brush-on gloss, then matte in sequence. Apply one thin coat of brush-on gloss, let it cure overnight, then follow with brush-on matte the next day. The overnight curing time gives the gloss layer a chance to fully settle and displace the moisture-damaged surface.
Lightly buff the surface. On flat areas of a base or large armor plates, you can gently buff the frosted surface with a soft cloth. This can reduce the haze on smooth areas, though it will not reach into recesses.
Paint over it. On small, heavily detailed models this is sometimes the most practical answer. Touch up the affected areas with paint, then re-varnish using brush-on varnish in controlled conditions.
Strip and restart as a last resort. If the frosting is thick and nothing else works, isopropyl alcohol (IPA) at 90 percent or higher will strip most acrylic paints and varnishes, a use hobbyists rely on often enough that it is specifically noted as a common technique for stripping acrylic paint and primer from polystyrene miniatures. This resets the model completely. It is frustrating but far less common as an outcome than most beginners expect.
Preventing Frosted Varnish in the Future
Fixing frosting is useful to know. Not needing to fix it is better.
| Risk factor | Safe threshold |
|---|---|
| Relative humidity | Below 60% |
| Temperature | Above 15°C (60°F) |
| Distance from spray can | 25 to 30 cm (10 to 12 in) |
| Can shake time | At least 2 minutes |
| Coat weight | Light to medium passes only |
A Simple Pre-Spray Checklist
Run through this before every varnish session, spray or brush-on, and most frosting problems never happen in the first place:
- Check a weather app or a room thermometer/hygrometer for current humidity and temperature.
- If spraying, shake the can for the full two minutes, not a quick rattle.
- Test spray on a scrap piece of card first, and check that it comes out smooth, not spattering.
- Apply thin, even passes and resist the urge to build coverage in one pass.
- Let each coat cure fully before adding the next, especially between gloss and matte layers.
A few additional habits that consistently prevent the problem:
- Warm the spray can gently in warm water for a minute before use in cold weather. Dry the outside completely before spraying.
- Seal in two stages: gloss first to lock in the paint, matte second to take the shine down. The gloss coat is more forgiving in humidity than matte varnish.
- Store your spray varnish at room temperature. A can that has been sitting in a cold shed sprays poorly.
Good finishing habits are part of the same skill set as good basing. If you are still working out your base finish, our guide to basing for beginners covers the full sequence from texture paste to sealing.
Frequently Asked Questions
Can I use a hairdryer to speed up fixing frosted varnish?
You can use gentle warm air, but avoid high heat. Hot air applied too closely can lift paint or cause bubbling. If you want to accelerate drying, use a warm room rather than direct heat from a dryer.
My varnish frosted but only in one spot. What happened?
Uneven spraying is usually the cause. You may have held the can too close in that area, or there may have been a brief burst of thicker spray at the start or end of a pass. The gloss varnish repair still works on a partial frost: brush some gloss over just the affected area and feather it into the surrounding clear finish.
Is frosted varnish the same as a varnish that has gone milky in the bottle?
No, those are different problems. Bottle varnish that looks milky is often fine once it dries, as many water-based brush-on varnishes look cloudy in the bottle but dry clear. Test a drop on a piece of card before applying to a miniature. If it dries clear on the card, it is fine to use.
How do I know if it is safe to spray varnish today?
Check the humidity and temperature outdoors or in your workspace. Under 60 percent humidity and above 15°C gives you a safe window. Many painters also do a quick test spray on the underside of the model's base before committing to a full coat.
Can frosted varnish damage the paint underneath?
Usually no. The frosting sits at the surface of the varnish layer and does not affect the paint below. Once you clear the frost with a gloss coat or a re-varnish, the original paint is unchanged. That is also why the repair success rate is high: the actual paint job is fine and just needs the surface layer corrected.
Does frosting happen with brush-on varnish too, or only sprays?
It is far less common with brush-on varnish, but it can still happen, usually as a slight haze rather than heavy frosting, and usually from applying a thick coat in a cold or damp room. Because you control the application by hand, it is easier to keep coats thin, which is the main reason brush-on is the safer choice when conditions are borderline and you cannot wait for a better day.
Once your finish is solid, you might enjoy exploring what goes on the base itself. Simple basing ideas and textures is a good next step, and if you want to add natural materials, how to add flock, grass tufts, and static grass covers that process in detail.