How to Base a Miniature: A Beginner's Guide
Learn how to base miniatures step by step: glue, sand, texture paste, and sealing explained simply for beginners.
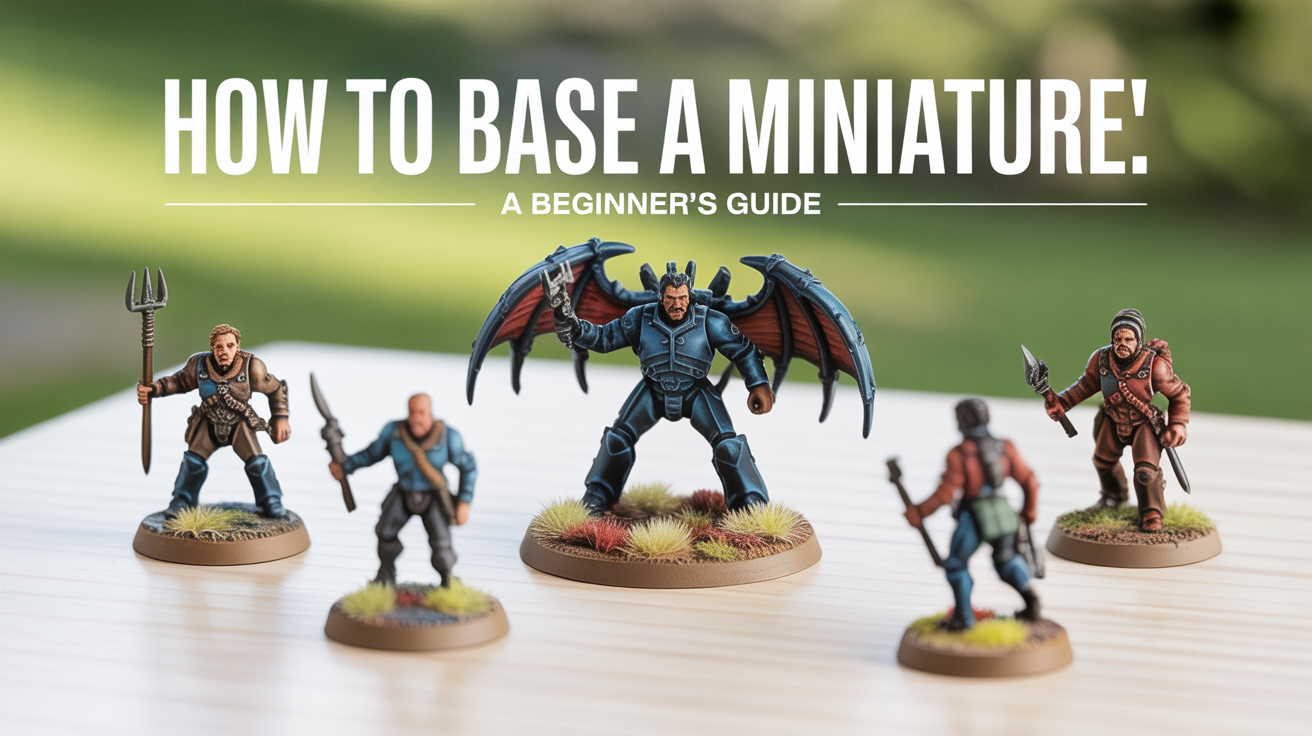
The base of a miniature does more than give it a stable place to stand. It tells a story about where the character lives, and a well-finished base makes even a simple paint job look intentional. This guide walks you through how to base miniatures from start to finish, covering the materials, the steps, and a few common mistakes worth skipping.
When Should You Base: Before or After Painting?
This question comes up almost immediately, and there is no single right answer. It depends on your method and materials.
Basing Before Painting
Most painters who use texture paste, air-dry clay, or anything that needs drying time prefer to base before painting. You apply your ground material, let it cure fully, prime everything together, and then paint the figure and base as a unified piece. This works especially well because the primer coat unifies the colours and gives you a consistent surface to work from.
The downside is that textured bases can make it harder to paint the boots, hem, or cloak of a figure that sits low to the ground. Some painters leave a small clear ring around the miniature's feet to deal with this.
Basing After Painting
If you are using sand and PVA glue, many painters complete most of the figure first, then apply basing materials to the unpainted base, protect the model with a light mask (a piece of paper or a painter's tape cone), and prime or spray the base separately. This approach gives precise control over where the texture lands.
A third option, common with scenic resin bases, is to glue the model to a pre-painted base as a final step. Scenic bases often come moulded with detail, so you paint them separately and attach the figure when both are finished.
There is no method that is universally better. Pick the one that fits your workflow and the type of basing you are doing.
Materials You Will Need
Before you start, it helps to have everything within arm's reach. Here is a quick reference list of what the different methods require.
| Method | Materials |
|---|---|
| Glue and sand | PVA glue, basing sand or fine ballast, small brush |
| Texture paste | Pre-mixed texture paste, old brush or palette knife |
| Air-dry clay | Modelling clay, sculpting tools, water |
| Resin scenic base | Super glue, activator (optional) |
For basic basing, PVA glue and basing sand are the most accessible starting point. You likely have PVA already, and basing sand is inexpensive to buy in bulk. Texture paste is a step up in convenience: it goes on thick, dries pre-coloured in many cases, and saves a painting step.
Check the labels on any products you buy. Super glue (cyanoacrylate) has fumes that irritate eyes and lungs; work in a ventilated space and keep a window open. Texture pastes and varnishes carry similar guidance on their packaging.
The Glue and Sand Method, Step by Step
This is the most widely used approach for basing miniatures as a beginner. It is forgiving, cheap, and easy to touch up if something goes wrong.
Step 1: Prepare the Base
Remove any mould lines from the base rim with a hobby knife or file. If your figure came on a slottabase (a plain black plastic base with a slot), you may have a raised tab of plastic where the slot is. Fill it with a tiny amount of green stuff or modelling putty, or simply coat it with PVA and build up a few sand layers until it disappears.
If you are adding any larger scenic elements such as a rock, a tree root, or a piece of cork bark as rubble, glue them down first and let them dry. Use super glue for heavy pieces. PVA alone is not strong enough for anything with weight.
Step 2: Apply PVA Glue
Brush undiluted PVA over the base surface in an even coat. Some painters thin it slightly with water (roughly three parts glue to one part water) to help it flow into recesses. Undiluted PVA is fine for most applications. Avoid getting glue on the model's feet if you can; it is easy to accidentally bind sand to a boot and create a grainy texture where you do not want it.
Step 3: Apply the Sand or Ballast
Dip the wet base into a container of basing sand, or sprinkle the sand over the base with a small spoon. Press it lightly with a fingertip to push it into contact with the glue. Shake off the excess over a piece of paper (so you can pour it back into the container) and set the model aside to dry for at least an hour. PVA can look set before it is fully cured; give it time.
Once dry, apply a second, thinner coat of watered-down PVA over the top of the sand to lock it in place. This step is worth doing because loose grains falling off onto a painted table or carpet is irritating.
Step 4: Prime the Base
If you primed the figure before basing, spray or brush a coat of primer onto the base only. Hold a scrap piece of card against the model's legs to protect them, or carefully brush primer on by hand. A thin coat of grey or black primer gives the sand tooth and covers the glue sheen.
If you primed the whole figure and base together before this step, skip this step and go straight to painting.
Step 5: Paint the Ground
Basecoat the sand with a dark brown or grey depending on the terrain type. Drybrush a lighter shade over the top to catch the peaks of the texture. A second, even lighter drybrush picks out the very tops and creates the illusion of light falling on earth or gravel.
For more basing ideas and textures, see our guide to simple basing ideas and textures for beginners.
Step 6: Add Scenic Details
Grass tufts, static grass, and flock go on last, after painting, because they cover painted areas and do not take paint well. Apply a small dot of PVA or dedicated tuff glue to the base and press the tuft down. Hold it for a few seconds and let it dry. You can add multiple tufts at different angles for variety.
Our full guide to adding flock, grass tufts, and static grass covers the different products in detail and explains how to mix them for a natural look.
Using Texture Paste
Texture paste skips a few steps. It is a thick, gritty compound that goes on with an old brush or a palette knife, dries with a built-in texture, and often comes pre-coloured in shades like brown earth, grey rubble, or sand.
Apply it thickly enough to cover the base surface without piling it up around the model's feet. Smooth it out with the back of a brush dipped in water. Let it dry overnight; thick applications of paste can crack if they dry too quickly, especially in a warm room.
Once dry, paint and drybrush exactly as you would with sand. Many texture pastes dry to a mid-tone that only needs a drybrush highlight and a wash to look finished. They save time at the cost of flexibility: if you want to vary the texture (some rocky areas, some earthy areas), glue and sand gives you more control.
Finishing the Base Rim
The rim is the part most people notice first when they look at a miniature on a table. A carelessly painted rim pulls attention away from the rest of the model.
The most common rim colours are black, brown, and grey, though some painters match the rim to the terrain. Dark brown is practical because it does not show scuffs as badly as black over a long gaming life. Apply a thin coat of acrylic paint with a brush, working around the circumference carefully to avoid touching the base surface.
Our dedicated guide to painting and finishing the base rim covers different rim colour choices and how to get a clean edge without masking tape.
Sealing the Base
Varnish protects the base from chipping, especially on models you handle often or use in games. Apply varnish after everything on the base is finished and dry, including any tufts or grass.
Matte varnish is the standard choice for basing because it kills the glossy sheen of dried PVA and leaves a flat, natural-looking finish. Gloss varnish has its uses, particularly for water effects or wet mud, because it reads visually as wet.
Apply varnish in thin coats. Spray varnish works fast and covers large surfaces evenly; brush-on varnish gives more control in humid conditions (spray varnish can cloud or go chalky in high humidity). Read the manufacturer's guidance before applying. Most varnish cans specify a safe temperature range and warn against spraying in direct sun.
Allow the varnish to dry fully before handling the model. One thin coat is often enough. Two coats, fully dried between applications, give better protection for models that see regular play.
Frequently Asked Questions
Do I need to prime the base before painting it?
Yes, in most cases. Primer gives the paint something to grip, and without it paint can peel or rub off easily. If you are using a texture paste that has its own binder, a coat of watered-down PVA sealer can sometimes substitute, but a proper primer coat is more reliable.
Can I use regular craft sand from a hardware store?
You can, though craft sand often has larger, less uniform grains than dedicated basing ballast. Fine sharp sand or horticultural sand works reasonably well. Avoid sand with salt content (beach sand) as it can cause problems with adhesion and may damage metal miniatures over time.
How do I stop my sand from falling off?
Make sure your PVA glue coat is applied evenly and the sand has enough contact time before moving the model. Once dry, apply a second diluted PVA coat over the entire basing surface to lock the grains in. Sealing with varnish at the end adds a further layer of protection.
Is texture paste better than sand for beginners?
Texture paste is faster and reduces the number of steps, which makes it appealing. Sand gives you more control over where different textures go and is cheaper in the long run for large projects. Both work well; it is a matter of preference rather than one being objectively better.
Do grass tufts need to be sealed?
Tufts can be left unsealed if you are careful with the model, but a light coat of matte varnish over the base (avoiding direct heavy spray onto the tufts themselves, which can flatten them) helps anchor them and protects the surrounding painted area. Apply any varnish over tufts sparingly and from a distance.