Common Priming Problems (Fuzzy, Thick, or Sticky Primer)
Fuzzy primer, thick coats, or tacky surfaces ruining your minis? Learn what causes each priming problem and how to fix or prevent it.
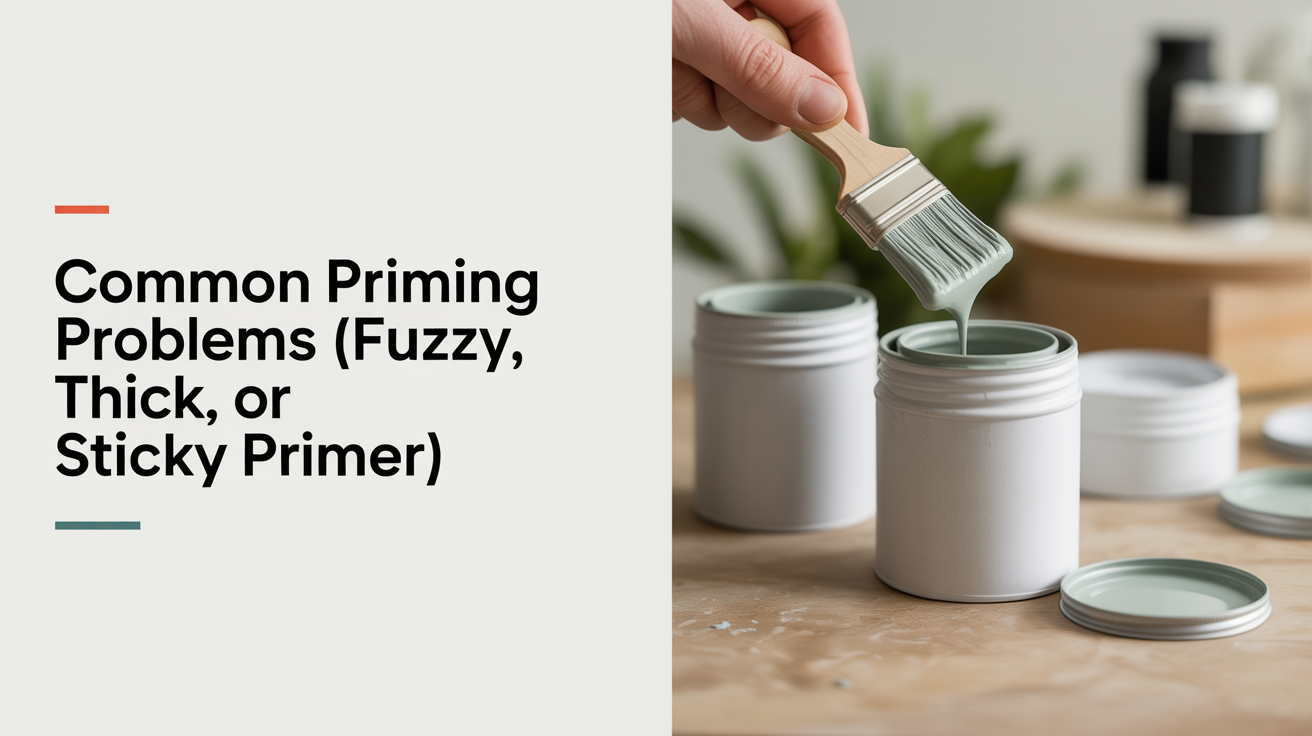
Priming is one of the shortest steps in miniature painting, but it causes more frustration than almost anything else in the hobby. You shake the can, spray your model, and then find the surface looks like a fuzzy sweater or the primer never dries properly. Before you reach for a toothbrush to strip the whole thing, take a breath. Most priming problems have straightforward causes and are either fully reversible or simple to avoid the next time.
This guide covers the three most common issues beginners run into: fuzzy texture, coats that go on too thick, and primer that stays tacky long after it should be dry. Each problem has its own cause, and once you know what went wrong, fixing it becomes much less mysterious.
Why Primer Comes Out Fuzzy
Fuzzy primer is one of the most disheartening sights in this hobby. The surface of your model looks rough and almost sandy instead of smooth, and fine details get buried under a layer of tiny granules.
The primary cause is cold or damp air. When the temperature is below around 60°F (15°C) or the humidity is high, the propellant in a rattlecan primer cools and expands before it hits the model. The paint particles partially dry in mid-air and land as tiny dry specs rather than a smooth film. The result is that gritty, furry texture.
A secondary cause is holding the can too far from the model. Particles that travel too far through the air start to dry before they land. The sweet spot for most spray primers is roughly 25 to 35 cm (10 to 14 inches) from the surface.
How to fix fuzzy primer:
- If the fuzz is light, a very gentle rub with a soft cloth or a stiff brush sometimes knocks off the worst of it. A thin coat of brush-on primer over the top can smooth things out further.
- For heavy fuzz, the most reliable fix is to strip the model with isopropyl alcohol (90% or higher works well on plastic), clean off all the primer, and start fresh under better conditions.
- Going forward, prime only when the temperature is between 60°F and 80°F (15°C to 27°C), and check the humidity. A reading above 65% is asking for trouble with spray primers.
Always prime in a ventilated space. Spray primers produce fumes that are not safe to breathe indoors without proper airflow.
For a deeper look at the different application methods and their tradeoffs, see Brush-On vs Spray vs Airbrush Primer.
Why Primer Goes On Too Thick
A coat of primer that is too thick does several things you do not want: it fills in fine detail, creates a lumpy surface, and takes a long time to dry. At the extreme end, you end up with thick blobs and drips that are very difficult to reverse.
The most common cause is simply spraying too much at once. People often feel like they need full, solid coverage on the first pass. In practice, primer builds up faster than it looks like it will, and what seems like a thin coat while you are spraying is often heavier than you expect once it dries.
Other contributors:
- Holding the can too close, which delivers too much paint in a small area
- Moving the can too slowly over the model
- Spraying in cold weather, which makes the primer sit wet on the surface instead of flashing off quickly
How to prevent thick primer:
- Use light, sweeping passes. Keep the can moving at a steady pace and do not stop mid-spray while the nozzle is pointed at the model.
- Build coverage in two or three thin coats rather than one heavy one. Give each pass a minute or two to tack up before adding another.
- Rotate the model between passes so you hit all the angles without overloading any single area.
If you have already applied primer too thick, the damage depends on how bad it is. Light overspray can sometimes be sanded or scraped back on hard plastic with very fine sandpaper (600 grit or higher). Severe buildup usually means stripping and restarting. A quick dunk in isopropyl alcohol for several minutes loosens most spray primers from plastic and resin, though you may need longer soak times or a second pass with an old toothbrush.
Why Primer Stays Sticky
Sticky or tacky primer that never fully cures is one of the most confusing priming problems because it can happen even when conditions seem fine.
The most frequent cause is humidity. Moisture in the air interferes with the curing process, leaving the primer surface soft and tacky rather than hard. This happens both during application and during the drying period after. If you primed on a dry day but then left the model in a damp room overnight, you can still end up with a sticky surface.
Other causes of sticky primer include:
- Applying over a release agent or mold release. Resin models in particular often come with a thin film of mold release that prevents paint and primer from bonding. Wash new resin models with dish soap and water, scrub lightly with an old toothbrush, and let them dry completely before priming.
- Incompatible products. Some primers and varnishes react badly with each other, leaving a permanent tackiness. If you are using spray products, stick to one brand for primer and test new combinations on a throwaway piece first.
- Primer applied over a previous coat that was not fully dry. Each layer needs time to cure before the next one goes on.
- Extreme temperature during drying. Very cold conditions slow curing significantly. If it is below about 55°F (13°C), the primer may stay soft for hours longer than expected, or may never cure properly.
What to do about sticky primer:
- If the tackiness is mild, place the model in a warm, dry room with good airflow and give it 24 to 48 hours. Many rattlecan primers continue to cure long after they feel dry to the touch.
- If the model is still sticky after 48 hours, the coat is unlikely to fully harden. Strip the model and start again, addressing the underlying cause (usually humidity, mold release, or an incompatible product stack).
- On resin, a proper wash before priming solves most adhesion and tackiness problems.
Checking the Can Before You Spray
Many priming problems originate before the model even enters the picture. A few quick checks on the can itself prevent a lot of grief.
Shake thoroughly. Most spray primers need at least two full minutes of hard shaking before use. The mixing ball inside needs time to combine the pigment and propellant properly. A poorly mixed can produces uneven spray patterns and inconsistent coverage.
Test on cardboard first. Spray a quick burst on a scrap piece of card and look at the pattern. You want an even mist, not a heavy wet stream or a spattery blob. If the nozzle is clogging, clean it by turning the can upside down and spraying until only clear propellant comes out.
Do not use an old or near-empty can. Cans that are nearly empty deliver inconsistent pressure and often spit globs of unmixed paint. If you are hearing mostly hiss with very little paint, put the can aside.
Check the temperature of the can itself. A can that has been sitting in a cold car or garage is colder than the ambient air, which affects how it sprays even if the room temperature seems fine. Bring the can inside and let it warm to room temperature before use.
For help deciding which type of primer setup to use, Brush-On vs Spray vs Airbrush Primer walks through the practical differences.
Choosing Conditions for a Good Prime
Even a good primer applied correctly will fail in the wrong conditions. Here is a quick reference for when to spray and when to wait.
| Condition | Safe to Spray? | Notes |
|---|---|---|
| Temperature 60-80°F (15-27°C) | Yes | Ideal range for most rattlecan primers |
| Temperature below 60°F (15°C) | No | High risk of fuzzy texture; primer may not cure |
| Temperature above 85°F (29°C) | Use caution | Primer may dry too fast; thin layers and short passes |
| Humidity below 60% | Yes | Low risk |
| Humidity 60-70% | Use caution | Monitor for tackiness |
| Humidity above 70% | No | High risk of sticky primer and poor adhesion |
| Rain or overcast/damp day | No | Skip priming; wait for a dry day |
Always prime in a space with good airflow, and step away from the spray during application. See the safety notes on your specific can for ventilation requirements.
For more on primer color choices and how they affect your painting workflow, Black, White, Grey, or Zenithal: Choosing a Primer Color covers the practical tradeoffs.
Frequently Asked Questions
My primer dried fuzzy. Can I paint over it or do I have to strip it?
Light fuzz on a large surface can sometimes be painted over after a gentle rubbing with a stiff dry brush or soft cloth to knock off the worst of it. A thin coat of brush-on primer helps smooth the surface further. Heavy fuzz tends to bury detail and gives a rough texture that is hard to paint neatly, so stripping and restarting is usually the better call if the model has fine detail you care about.
Why does my primer look fine when I spray but turns sticky once it dries?
High humidity during the drying period is the most common culprit. Even if conditions were fine when you sprayed, a damp room or humid overnight air can interfere with curing. Try placing the model in a warm, dry spot with good airflow for 24 to 48 hours. If it remains tacky after that, the coat likely will not harden fully and the model needs to be stripped.
Is brush-on primer less likely to cause these problems?
Yes, in most cases. Brush-on primer sidesteps temperature and humidity constraints almost entirely and gives you direct control over how much primer goes on. The tradeoff is more time and some brush texture on large flat areas. If you are having repeated trouble with spray primer due to weather or living conditions, brush-on primer is a practical alternative. See Brush-On vs Spray vs Airbrush Primer for a full comparison.
How do I clean a resin model before priming to avoid adhesion problems?
Wash the model in warm water with a small amount of dish soap. Scrub gently with an old toothbrush to remove mold release residue, paying attention to recesses and detail areas. Rinse thoroughly and let it dry completely, at minimum a few hours at room temperature, before applying primer. Skipping this step is one of the most consistent causes of primer failing to stick or curing tacky on resin.
How do I know if my primer coat is thin enough?
You should still be able to make out the fine detail on the model clearly after priming. Rivets, facial features, and sharp edges should look crisp, not softened or rounded. If you are losing detail, the coat is too heavy. It helps to err on the side of too little on the first pass: you can always add a second light coat, but you cannot easily pull primer back off.