Brush-On vs Spray vs Airbrush Primer
Brush on vs spray primer miniatures compared side by side: cost, control, weather limits, and when each method actually makes sense.
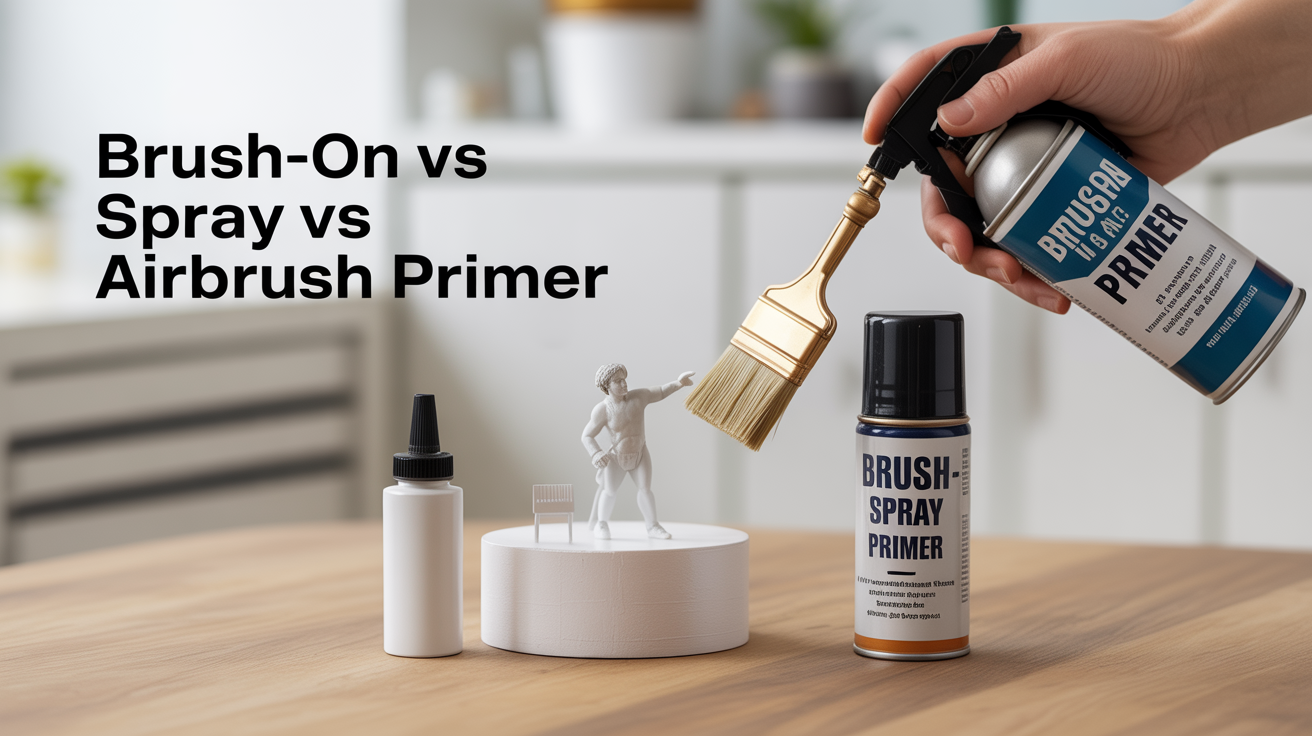
The three main ways to prime miniatures each come with real tradeoffs in cost, convenience, and finish quality. Choosing between brush-on, spray can, and airbrush primer depends on your workspace, budget, and how often you sit down to paint. This guide breaks down what each method actually delivers so you can match it to your setup rather than just copying what someone else uses.
For a deeper look at what primer is doing for your models in the first place, start with our guide on how to prime a miniature and why priming matters.
Brush-On Primer
Brush-on primer is formulated for application with a brush rather than a spray. Products like Vallejo Surface Primer, Citadel Chaos Black (brush-on variant), and similar offerings from Scale75 come in dropper or pot bottles and go on with a soft flat or synthetic brush.
Who It Works Best For
This method suits painters who work at a kitchen table, in a small apartment, or anywhere aerosols are impractical. No ventilation setup required beyond what you would use for regular acrylic painting. No weather windows to wait for. No clogged nozzles. You open the bottle, thin slightly with water if needed, and paint it on.
Application Tips
Thin the primer to a milky consistency rather than straight from the bottle. Thick coats fill in surface detail and leave brush streaks. A soft synthetic brush, wide enough to cover surfaces quickly, minimizes stroke marks better than stiff bristles. Work in thin layers and let each dry before adding a second pass over recesses or missed spots.
The Honest Tradeoffs
Coverage is controllable but slower, especially across a unit of 20 models. The per-model cost runs slightly higher than rattle cans, though the difference is modest unless you are painting at army scale. Brush-on primer for minis also gives you the most precision of the three methods, which matters if you are doing different colors on different parts of the same model.
Spray Can Primer
Rattle-can spray primer is the most common method for hobbyists priming in batches. Brands like Army Painter, Krylon, Rustoleum, and Citadel all offer primers in standard colors. A light, sweeping pass from 8 to 12 inches away lays down a thin, even coat across 10 to 20 models faster than any brush can.
Temperature and Humidity Gotchas
This is the variable that trips up new painters most often. Cold air (below roughly 50 degrees F / 10 degrees C) causes spray primer to go on grainy, an effect sometimes called frosting. High humidity, particularly above 70 percent, produces a chalky surface texture that will not buff or sand out cleanly.
Both problems happen because the primer partially dries mid-air before reaching the model. The fix is straightforward: prime on dry days between 60 and 80 degrees F (16 to 27 degrees C), or use an enclosed indoor spray booth with a fan exhaust.
Ventilation and Safety
Aerosol sprays release solvents and fine particulates that you should not be breathing in any quantity. Priming outdoors is the easiest solution, positioning yourself upwind and working in short bursts. Indoors, an open window is not sufficient. A proper spray booth paired with an organic vapor respirator (not just a dust mask) is the correct setup. N95 masks handle particles but do not filter solvent vapors; you need respirator cartridges rated for organic vapors. Treat this as a non-negotiable part of the workflow, not optional caution.
The Honest Tradeoffs
Spray primer for miniatures is fast and gives a consistent finish across large surfaces. The gaps in coverage show up in deep recesses; rotating the model and shooting from multiple angles fills those in, but it takes a deliberate pass. Overspray can contaminate surrounding surfaces and floors, so a cardboard spray box or dedicated booth keeps the mess contained.
Airbrush Primer
An airbrush delivers primer through a fine needle and nozzle at controlled pressure, giving you a coat thinner and more consistent than either of the other methods. Coverage in recesses is better than a rattle can because you can angle the airbrush and adjust flow precisely.
What You Actually Need
The minimum setup is a double-action airbrush, a compressor, and airbrush-compatible primer or regular primer thinned to the right ratio. Entry-level airbrushes from Badger, Iwata, or Harder and Steenbeck start around $80 to $150. A compressor adds another $60 to $120 for a basic tankless model. Cleaning tools, jars, and thinners round out the kit.
That is a real upfront investment compared to a $15 rattle can or a $10 bottle of brush-on primer. It pays off over time through lower per-model cost and better results, but only if you are painting consistently enough to justify the initial spend.
Ventilation and Safety (Not Optional)
Airbrushing aerosolizes paint at a finer particle size than rattle cans, which means those particles travel deeper into lung tissue if you breathe them. A spray booth with an exhaust fan, vented outdoors or through a carbon filter, is the standard setup. Always pair it with an organic vapor respirator with particulate filters while the airbrush is running. Water-based primers carry less solvent risk than lacquer-based ones, but any aerosolized paint at concentration warrants proper respiratory protection.
The Honest Tradeoffs
Airbrushing delivers the best finish per coat and makes zenithal priming far more practical. That technique sprays white from above and black from below to create built-in shadow and highlight, and it is much harder to control with a rattle can. For more on how to use that approach, see our guide on choosing a primer color, including zenithal.
Setup and cleanup add 10 to 15 minutes per session, which cuts into efficiency for small one-or-two model jobs. The learning curve for pressure settings, thinning ratios, and cleaning technique is real and takes a few sessions to get comfortable with.
Side-by-Side Comparison
| Method | Upfront Cost | Per-Model Cost | Control | Weather Sensitivity | Ventilation Needed |
|---|---|---|---|---|---|
| Brush-on | Low ($8-12/bottle) | Medium | High | None | Minimal |
| Spray can | Low ($10-18/can) | Low | Medium | High | Required (outdoor or booth) |
| Airbrush | High ($150-300+ setup) | Very low | Very high | Low | Required (booth + respirator) |
Choosing the Best Way to Prime Miniatures for Your Setup
Volume matters more than most people expect when picking a method.
For painters doing 20 or fewer models a year, brush-on primer keeps things simple. No logistics, no weather dependency, no safety setup beyond what you already do for painting. The slightly slower pace is not a real cost at that volume.
For batch painters working through squads of 10 to 30 models at a time, spray cans win on speed. Build your priming workflow around the weather window, or pick up a small spray booth. Spray primer for miniatures at that scale pays off clearly over the brush-on approach.
Airbrushing makes economic and quality sense once you are painting consistently enough to justify the setup time and initial cost. If you are already planning to airbrush your models after priming, adding primer to that workflow adds almost no overhead. If you are not planning to airbrush otherwise, the barrier to entry is harder to clear.
One thing that applies regardless of method: finish your prep work before any primer goes on. Primer makes every surface flaw more visible, not less. Our guide on how to remove mold lines from miniatures covers the tools and steps to take before the primer bottle opens.
Frequently Asked Questions
Can I mix methods, like using a rattle can for the bulk of the model and touching up with brush-on?
Yes, and many painters do exactly this. Spray the main surfaces, then use brush-on primer to reach awkward recesses or correct spots the can missed. Both types are compatible as long as each coat is fully dry before the next goes on.
Is brush-on primer for minis as durable as spray primer?
Durability depends more on the product formula than the application method. Quality brush-on primers from Vallejo or Citadel match sprays in adhesion and chip resistance. Poor application (coats too thick, not fully cured before painting) causes durability problems, not the primer type itself.
Why does spray primer go on chalky or grainy?
The two most common causes are cold temperature and high humidity. Spray primer dries as it travels through the air; in cold or damp conditions it partially cures before reaching the model, landing rough. Priming in dry conditions between roughly 60 and 80 degrees F resolves most spray primer texture issues.
Do I need a spray booth for airbrushing primer?
A spray booth is strongly recommended. An exhaust fan booth vented outside removes aerosolized paint from your breathing space. At minimum, pair any airbrushing session with a respirator rated for organic vapors and fine particulates. The particles an airbrush produces are smaller than rattle-can overspray, which increases respiratory risk without proper protection.
What is the best way to prime miniatures if I live in an apartment?
Brush-on primer is the most practical apartment option. It needs no more ventilation than standard painting, produces no overspray, and works in any temperature. If you want the speed of a spray, a compact enclosed spray booth with a carbon exhaust filter can make rattle cans workable indoors, provided you still crack a window and wear a respirator during use.